Previewing Templates – Buildbox 3 Manual

By |

Previewing Game Templates

Buildbox provides a variety of simple mini-games with prebuilt functionality. They can save you time and help you get started by experimenting and learning product features at the same time.

To preview a Buildbox template and familiarize yourself with the Buildbox workspace and features:

  1. Click the New Game tab on the main screen.
  2. Scroll up and down to browse the available templates and hover your mouse over each template to preview it.
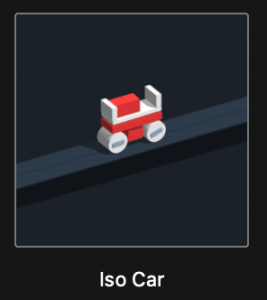
  3. After you find a game style you like, double-click the template, for example, Iso Car.
    When the selected project is loaded, its Mind Map is displayed.
  4. Explore the game flow on the Mind Map represented by several nodes connected from the yellow Start node that loads the game, to the green UI nodes, such as Start UI, Game UI, at least one purple 3D World node, and a Game Over UI node at the end.
  5. On the Navigation bar, click the Preview button.
    The Preview window appears with the Start UI screen of the selected game loaded.
    Most likely, this UI screen includes three text labels at the top (the score (0), template name, the word “template”) and a Play button at the bottom, all against a black background.
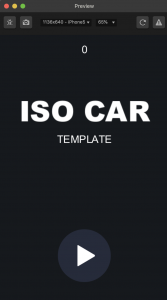
    You can keep the preview window open as you work on your game, and it will update accordingly.
  6. On the Mind Map, double-click the Start UI node that defines the screen you see in the Preview window and click each asset in the UI Editor to explore its properties in the Options panel on the right.
    For example, the image below shows how the game score attributes are defined.
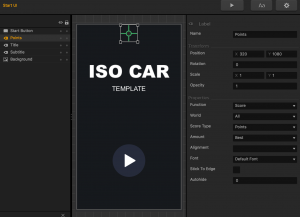
    Use the Helper in the bottom left corner of the screen for guidance.
  7. In the Preview window, click the Play button and start playing the game, for example, by pressing the right mouse button to make the iso car move forward.
  8. Replay the game as many times as you need, taking notice of when you score, what happens in the game, when and how it ends.
  9. Now take a look another look “under the hood.”
    Game assets
    What you see while playing the game is the 3D World node that represents a game level.

    1. On the Buildbox navigation bar, click Mind Map at the top left to go back to the game nodes you saw in step 4 above.
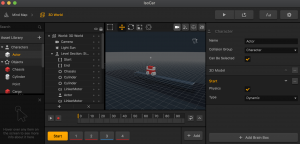
    2. Double-click the purple 3D World node to explore its workspace and setup.
    3. In the Asset panel on the far left, click different assets and check out their attributes in the Options panel on the far right.
    4. Hold the spacebar and drag the grid to change your view of the scene.
    5. Drag an asset to the Editor grid and play with different controls on the toolbar, for example, click the Camera button to turn on and off the camera view.
    6. In the Outliner, click the assets added to the scene and see how their position attributes differ from the object attributes.
    7. At the very bottom, click different scene buttons (Start, 1, 2, 3)  and see what assets they have that you can recognize from the game.
    8. In the Asset panel, double-click an asset, for example, Actor or Chassis in the Iso Car template and explore the Node Map of the selected asset.

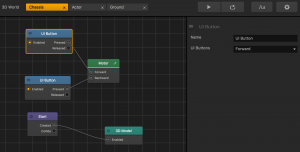
      At the very least, there should be two asset nodes, Start and 3D Model, which create the asset and define its shape respectively. On the Chassis Node Map, there are also two UI Button nodes that are linked to the Motor node, which in turn moves the car back or forward when you press the right or left mouse button.
    9. Click any node on the Map or drag a new one from the Node panel on the left and explore its attributes in the Options panel on the right.
    Game controls and logic
    The game score at the top and the logic that determines what happens as a result of your actions during the game are defined in the Game UI node.

    1. Use the navigation bar to go back to the Mind Map.
    2. Double-click the green Game UI node.
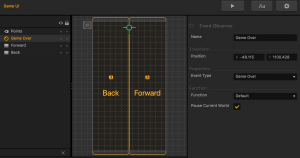
    3. Click the Event Observer icon at the top left of the UI screen in the Editor, and check it attributes in the Options panel. It “listens” to the game and load the Game Over UI when the game is over.
    4. Check out any additional elements, such as two control buttons in the Iso Car template, which correspond to the UI Button nodes in the Chassis Node Map above.
    Game end
    When your game ends, a Game Over UI screen appears. It is represented by Game Over UI node on the Mind Map, which is very similar to the Start UI node.
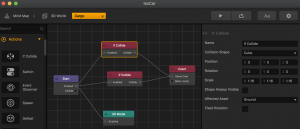
    The outcome of the game is also determined by the Action nodes, such as If Collide, Health, and Defeat that are typically added to the game assets in their Node Maps, typically to the Actor character.
    For example, in the Iso Car template, go to the Mind Map, double-click the 3D World node, then in the Asset panel double-click the Cargo asset and check the Affected Asset attributes in the Options panel of its If Collide nodes that are connected to the Game Over Event node.

10. Go back to the Mind Map and see if the connections between the node outputs and inputs make more sense to you now.
11. Continue exploring different workspaces or create a simple game to further familiarize yourself with Buildbox and its powerful features.

To choose another template to explore, on the Buildbox menu bar, select File > New. See also the Getting Started tutorial.

Exploring Buildbox – Buildbox 3 Manual

By |

Exploring Buildbox

Aside from starting a new project on your own from scratch, you can explore what Buildbox has to offer in any of the following ways.

Interactive Tutorials

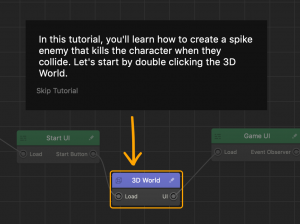
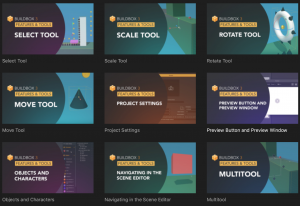
Learn how to create basic elements of a game, such as characters, enemies, UI screens, and more, with a step-by-step guidance at your own pace. This is a great way to learn basic tasks and familiarize yourself with the Buildbox workspaces, features, and tools.

To access these tutorials:

  1. On the Buildbox Welcome Started screen, click the Tutorials tab.
  2. In the Interactive Tutorials category carousel at the top, use the navigation controls at the top right to view the available tutorials.
  3. Click the tutorial you want to do.

    A new Buildbox window opens with the selected project loaded. It may take a few moments.
  4. In the new window, follow the onscreen instructions.

Templates

Preview and play prebuilt mini-games, which you can then use as templates for your own games by modifying them as needed.

This will allow you to see how assets and scenes are used to create worlds, how UI screens are designed, and nodes are used to provide desired functionality in a game.

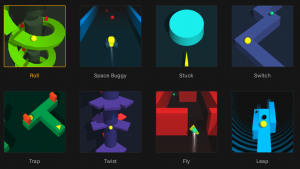
On the Templates tab on the Welcome Started screen, scroll up and down to browse the available templates and hover your mouse over each template to preview it.

  • To load a template, double-click its thumbnail on the Templates tab.
  • To close a selected template and choose another one to explore, on the Buildbox menu bar, select File > New.
    For step-by-step guidance, see Previewing Templates on Your Own.

Video Tutorials

  • Watch the Getting Started video that provides a comprehensive and easy-to follow overview of the software.
  • Make a simple game using video tutorial instructions or simply watch a video tutorial.
  • Explore a variety of videos that explain and demonstrate how you can use different Buildbox tools

To explore all available tutorials and videos, click the Tutorials tab on the Welcome Started screen.

Making a Simple Game from Scratch

Once you have explored the above options or if you want to explore Buildbox by making a game from scratch, follow the series of steps in Making a Simple Game, which consolidate most procedures taught in individual tutorials into a single guide. The result is a complete project and a game.

Getting Started – Buildbox 3 Manual

By |

Getting Started

Welcome to Buildbox 3! We are excited to see your ideas come to life!

If you are brand new to Buildbox and haven’t watched the Getting Started video, now may be a good time. If you’d rather explore the product on your own, you can find a few suggestions in  Exploring Buildbox.

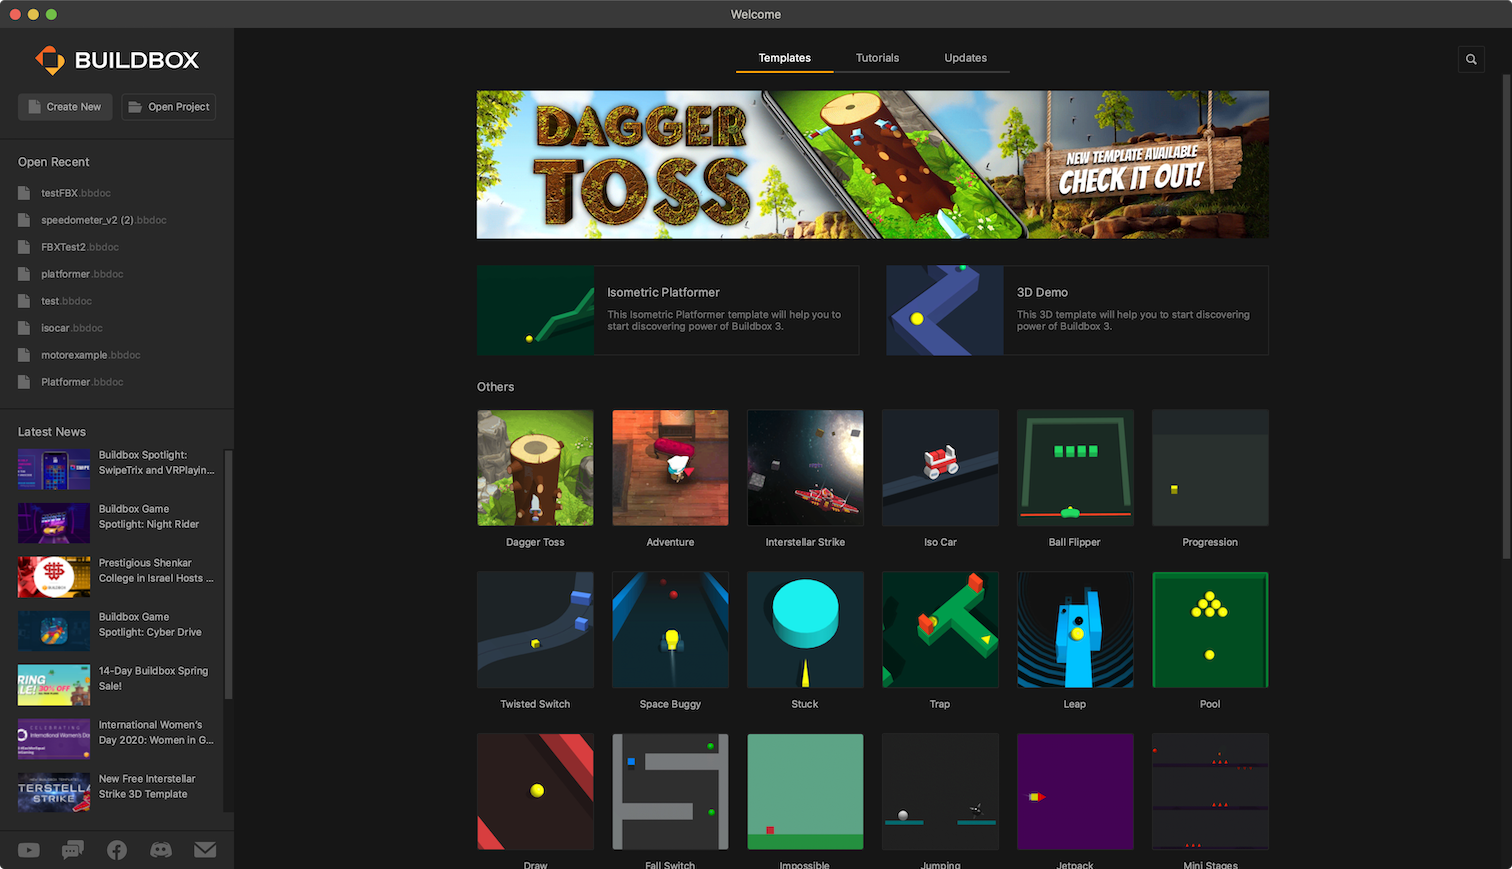
Whether you start from scratch on your own, choose to do a tutorial, watch a video, or play a prebuilt game template, when you first open Buildbox, you are presented with the Welcome screen. This screen accommodates all your choices, provides the latest news and software updates, and allows you to start a new project or open an existing one.

The Getting Started screen consists of two parts, a Buildbox pane on the left and the main display area with three tabs on the right.

Buildbox Pane

The Buildbox pane allows you to do the following:

  • Create a new game project. For example, see Making a Simple Video Game with Tutorials.
  • Open a recent project, if you have already started and saved one.
  • View the latest Buildbox news and announcements.
  • Access additional resources, such as Forum, Discord, our YouTube channel, and Buildbox facebook page.

Tabs

The three Getting Started tabs provide you with the following options:

Templates This tab displays a list of templates that you can choose to get started. These are basically prebuilt mini-games that demonstrate various Buildbox features and functionality.

  • To preview a template, hover your mouse over it. See Previewing Templates.
  • To load a template, double-click it.
Tutorials This tab two types of tutorials that provide step-by-step instructions and explain the Buildbox 3 features and tools:

  • Interactive tutorials that open a new Buildbox window and walk you through a project.
  • Video tutorials that demonstrate the the product functionality and provide useful tips.

    All video tutorials are grouped by their content, such as Tools, Gameplay, Tips and Tricks. For a product overview, see the Getting Started video. See also Make a Game with Tutorials.

Each group has additional navigation controls at the top right that you can use to view all tutorials in the category.

Updates Use this tab to check for software updates and the latest release notes. Alternatively, on the Buildbox menu bar, select Help > Check for Updates.