UI Asset Panel – Buildbox 3 Manual

By |
UI Asset Panel

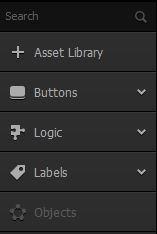
This is the panel on the far left side of the UI workspace. It lists all assets added to the selected UI.

  • To add an asset to a UI screen, drag it to the UI Editor and position it as needed.
  • To extend the panel vertically, close the Helper.
  • To search for an asset in the Asset panel, enter its name in the Search field.
Name Description
Asset Library Click to open the Asset Library where you can preview and choose assets for your screen.

Tip: To close the library, click this button again.

Buttons These are six types of buttons with predefined functionality that you can add to the UI screen. For more details, see UI Buttons.
Logic Determines whether a scene or level is ready to move to the next when something has been fulfilled.

Logic assets are not visually present on the screen.
Labels These are fonts with predefined settings that you can add using the Font Editor.

Drag a font label to the UI Editor and do one of the following in the Font Options panel on the right:

  • To create a text label, enter its text in the Text field.
  • To add a score counter, select Score in the Function field and make the appropriate selections. For more on adding a score to a game, see Adding Score.
Objects
  • These are assets added from the Asset Library.
  • To delete an object, hover your mouse over it and click x.

UI Screen Workspace – Buildbox 3 Manual

By |
UI Screen Workspace

To create a UI, you need to add a UI node on the Mind Map, then go inside the UI node. To open a UI workspace, double-click the corresponding UI node on the Mind Map or click the Edit icon in the top right corner of the node.

Inside a UI node, you can add the necessary UI elements like buttons, logic, and text labels.

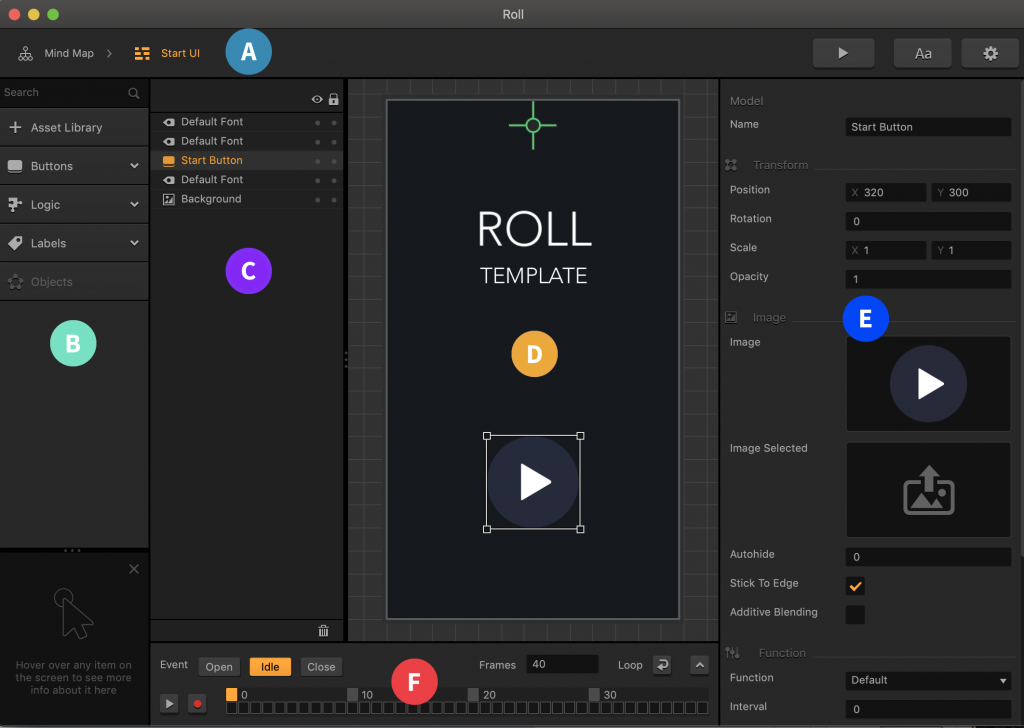
A World workspace consists of the following parts:

To add an asset to a UI screen, expand the respective category in the Asset panel and drag the item to the Editor.

To add an image to the UI, see Adding Images.

Font Editor- Buildbox 3 Manual

By |
Font Editor

The Font Builder allows you to add fonts to use in text labels in your game. For details, see Adding Fonts below.

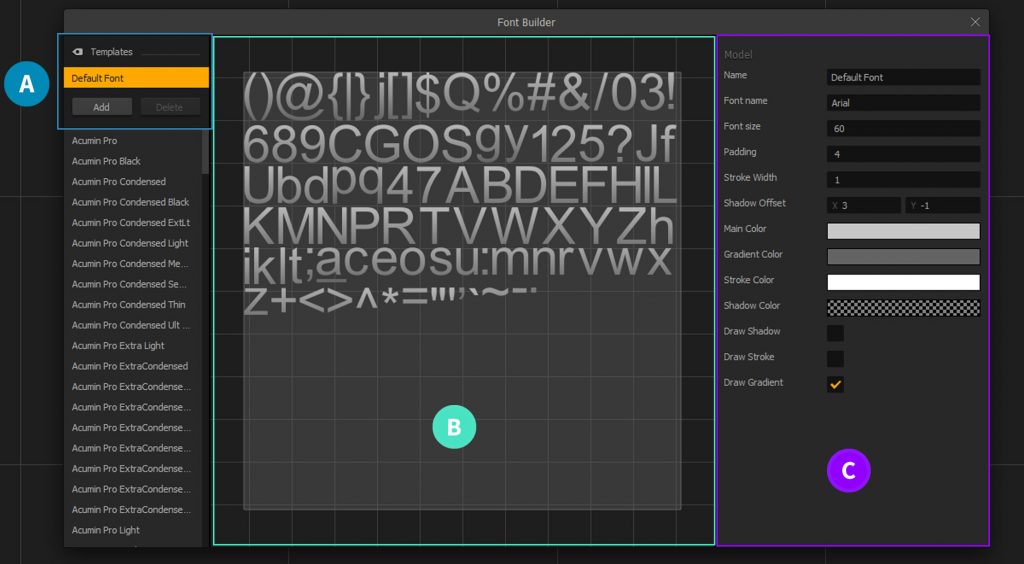
A window opens with three panels:

A Font templates with a list of fonts already added to your game at the top and a list of all fonts installed on your computer underneath.

B Font preview of the selected font with the properties selected in the Options panel.

C Options panel with the properties of the selected font that you can define to meet your needs.

Adding Fonts

To add a font to your game:

  1. Select Tools > Font Editor on the Buildbox menu bar.
  2. Scroll through the list of fonts in the left panel, previewing each font you select in the middle of the workspace (B).
  3. Select the one you want to use for labels in your game.
    If you don’t see the font you need, install it on your computer first.
  4. In the Options panel on the far right, type a name for the font to be displayed in the workspace and edit any other properties as needed. For details, see Font Options below.
  5. Click Add in the Templates section at the top of the panel on the left.
    The selected font is added in the Labels section of the Asset panel in the World and UI workspaces with the name you’ve specified for it.

To delete a font, select it in the top section of the Templates panel and click Delete.

Font Options

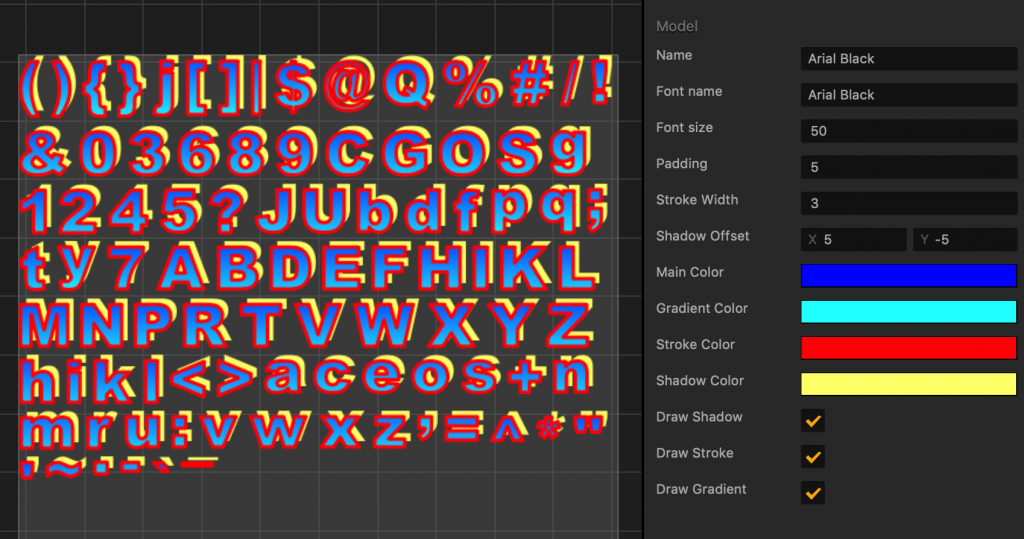
The image below shows and exaggerated view of all available font options.

Decide if you you want to use shadow, gradient, or stroke outline, and select the corresponding checkboxes first, then define their respective properties.

Option Allows you to
Name Specify the name for the font to be displayed in the World and UI Asset panels. It’s for your reference only within this game. You may still change it, if needed, in the Text Label Options.
Font Name Change the name of the selected font, if needed.
Font Size Set the font size.
Padding Set the space between letters in pixels.
Stroke Width Set the width of the font outline, if the Draw Stroke checkbox is selected.
Shadow Offset Set the offset of the font shadow, if the Draw Shadow checkbox is selected.

To drop shadow under the text to the right, enter positive values for both axes.

To drop shadow above the text to the left, enter negative values for both axes.

Main Color Click this field, select the desired font color from the several options provided in the Colors window, and click OK.
Gradient Color Select a gradient color, if the Draw Gradient checkbox is selected. The main font color will fade into this color from the top.
Stroke Color Select the font outline color, if the Draw Stroke checkbox is selected.
Shadow Color Select the font shadow color, if the Draw Shadow checkbox is selected.
Draw Shadow Select to add a shadow to the font.
Draw Stroke Select to add an outline to the font.
Draw Gradient Select to add gradient to the font color.

Scene Selector – Buildbox 3 Manual

By |
Scene Selector

The Scene Selector is the horizontal bar at the very bottom of the World workspace. It displays the sequence of scenes added to the World. As its name suggests, this bar allows you to select a scene for editing in the Scene Editor.

By default, all new Worlds have a Start scene added to them. If you select a template, additional scenes may be already added for you.

Here’s what you can do in the Scene Selector:

  • To view the contents of a scene or edit it, select it and use the Scene Editor.
  • To add a new scene, click Add on the right.
    New scenes are added to the end of the sequence from left to right, numbered sequentially. See also Add a scene.
  • To change the scene order, drag the scenes left or right to the desired location.
  • To rename a scene, select it and in the Options panel, type a name for the scene.
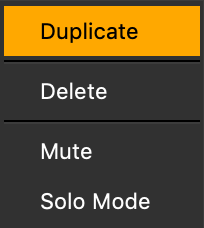
  • To delete a scene, select it and press the Delete key on your keyboard. Alternatively, right-click the scene and make the corresponding selection from the menu.
  • To duplicate a scene with its contents, press D on your keyboard.
  • To mute a scene (make it inactive), press M on your keyboard.
    A red underline appears at the bottom of the scene button to indicate that it is muted.
  • To mute all scenes, except one, press S (for “Solo”). This scene is underlined in green when highlighted or blue when it is not highlighted.
  • To preview a scene, click the Preview selected scene button on the Navigation bar. The preview will skip all UI screens and start from the current game scene. See also Preview and Testing.
Note: You can’t rename, mute, or delete the Start scene, but you can duplicate it, if needed.

Animation Bar – Buildbox 3 Manual

By |

Animation Bar

The Animation Bar is the horizontal bar with a frame timeline at the bottom of the World workspace. It allows you to create a motion sequence of the selected character or object, which will be played across a timeline within a scene. The timeline is used to properly key animations for the movement, rotation, and scale values, with each selected frame highlighted in orange.

To access the Animation Bar, select View > Animation Bar.

Button Icon Allows you to
Play Play the animation of the currently selected character or object.
Record Record the animation sequence of the selected character or object.
Loop  Play your animation continuously.
Toggle Graph Editor  Expand/collapse the Graph Animation Editor.

To animate an object:

  1. Select the object that you want to animate in the Scene Editor.
  2. Click the frame number in the Animation Bar, for example 0, and position the object to the location in the scene where you want it to be at this point.
  3. Click the Record button.
  4. Click the next frame number in the Animation Bar, for example, 20, and move the object to a new location in the scene.
  5. Continue with the process until you create the desired movement on the screen.
  6. Click the Record button when done.
  7. To preview the animation, click the Play button.
To fine-tune the movement, expand and use the Graph Animation Bar.

World Outliner – Buildbox 3 Manual

By |

World Outliner

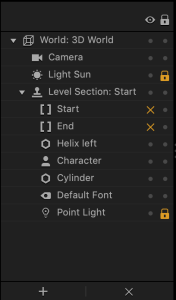
The Outliner panel in a 3D world provides a hierarchical outline of the contents of your game world. It lists all the assets you have in the current scene and the world.

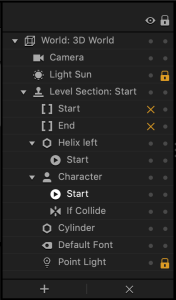
By default, each world has a camera and a light source, which you cannot delete. For each scene, a set of Start and End points is added by default (see Scene Editor). As you add assets to your world or if you select a template, all additional objects will be displayed in the Outliner, as shown in the image below on the left.

If your click the Collision Shape Editor button on the Scene Editor toolbar, the Start and If Collide nodes of the assets with the collision shapes will also appear in the Outliner, as shown int he image below on the right. See also Viewing Collision Shapes.

.     

You can lock, hide, add, or delete items in the current Scene by making the corresponding selections for each item in the Outliner.

Here’s what you can do in the Outliner:

  • To select multiple assets, hold Shift and click the names of all of the desired assets.
  • To see the properties of an object, select it in the Outliner, and view or edit them in the Options panel.
  • To hide an asset from the scene, click the option in the Show/Hide column.
    The asset will be marked with an x next to it. You won’t be able to see, move, or edit the asset while it’s hidden.
    NOTE: If you hide or lock the camera in one scene, they will be hidden or locked respectively in all scenes in the current world.
  • To lock an asset its current position in the scene to avoid accidentally selecting, moving, or deleting it while you edit your scene, click the option in the Lock column.
    The asset will be marked with a lock next to it.
  • To delete an asset, select it in the Outliner and click the x button at the bottom or press the Delete key.
    NOTE: You can’t delete the camera, light source, and hidden assets.
  • To add an asset to the Outliner, drag the asset from the Asset Panel.

Additionally, you can click the Add button at the bottom of the Outliner and add the following to the scene:

For more details and usage example, see the Outliner video below.

Asset Library – Buildbox 3 Manual

By |

Asset Library

Asset Libraries provide collections of basic 2D sprites, 3D shapes, and “smart” assets with pre-built functionality. You can add them as objects and characters to your game.

To access an Asset Library:

  1. Depending on what type of asset you want to add, open either a 2D or 3D world.
  2. In the asset panel, click Asset Library.

Using Asset Libraries

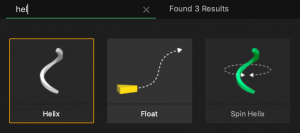
  • To find the asset or shape you need in the Asset Library, click the respective tab or click the Search icon and type the name of the asset.
  • To preview an asset, click it, and its information is displayed in the Options panel on the right.
  • To add an asset to your game world, double-click it or click the Add to Library button in the Options panel.
  • To close the Library, click the orange Asset Library button.

The sections below describe the available asset categories.

Sprites
  • A sprite is a 2D plane that displays an image.
  • To access the Sprite asset library, open a 2D World then click Asset Library.
  • Each sprite asset contains an Animation node in its node map that is used to display a given image.
  • To preview a sprite, click it, and its information is displayed in the Options panel on the right.
  • To add a sprite to your game world, double-click it or click the Add to Library button in the Options panel.

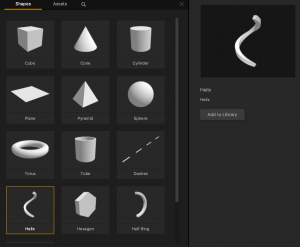
Shapes
  • Each shape asset contains a 3D model, which is a three dimensional shape that is made up of four sided faces called polygons.
  • The shape of a 3D model is defined by the placement and amount of polygons on its surface,
  • To preview a shape, click it, and its information will be displayed in the Options panel on the right.
  • To add a shape to your game world, double-click it or click the Add to Library button in the Options panel.

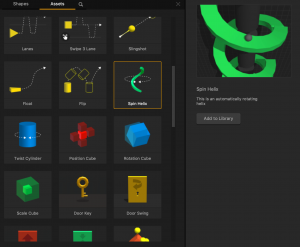
Assets

On the Assets tab in the Asset Library, you can find custom-made 3D “smart” assets that have pre-built functionality that will expedite your game development process.

  • To preview an asset, click it and watch the preview on the right.
  • To add an asset to your game world, double-click it or click the Add to Library in the Options panel.

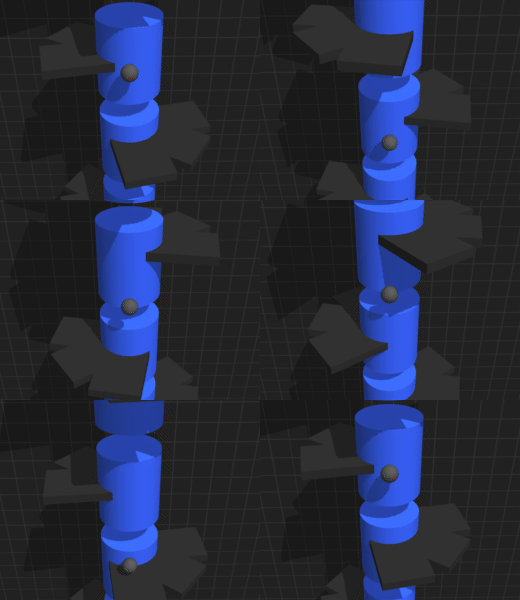
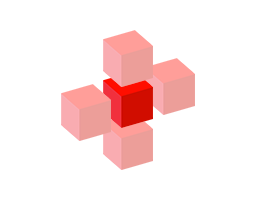
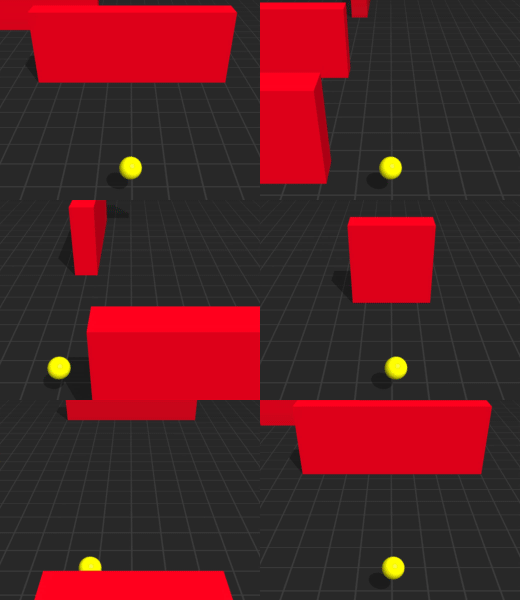
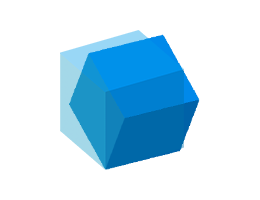
The table below describes available smart assets and allows you to preview them by hovering your mouse over the image. It also lists the nodes that determine their functionality.

Name Image Description Nodes Used
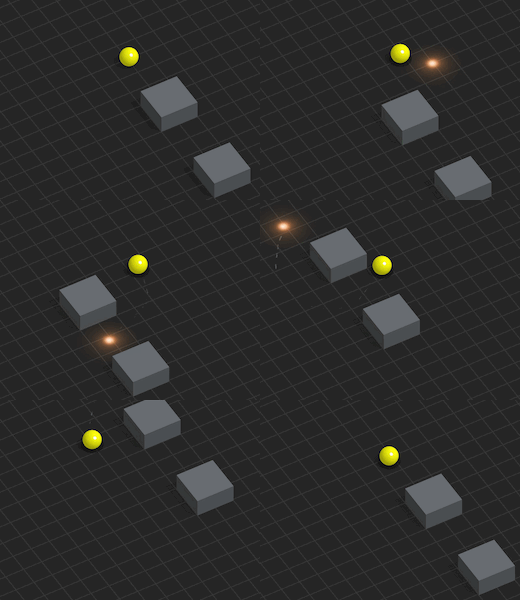
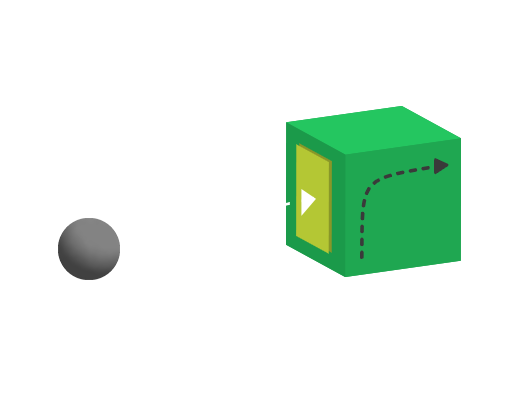
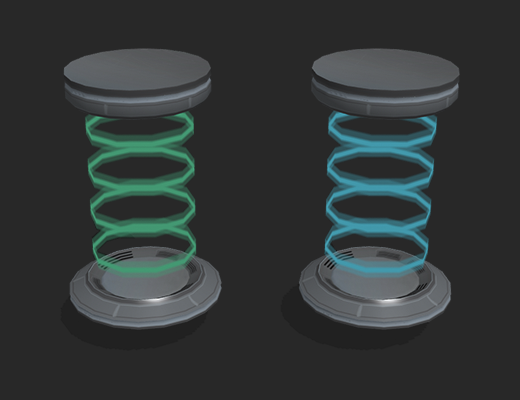
Teleport Assets that collide with the Teleport Entry will be sent to the Teleport Exit.
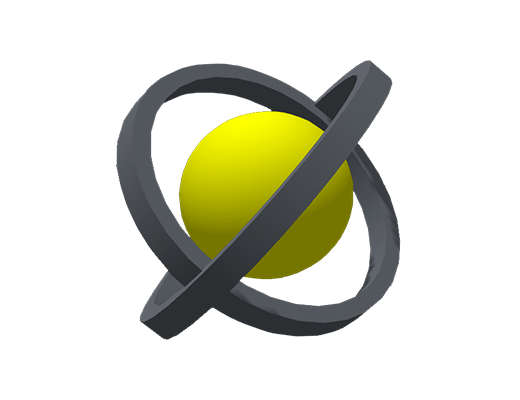
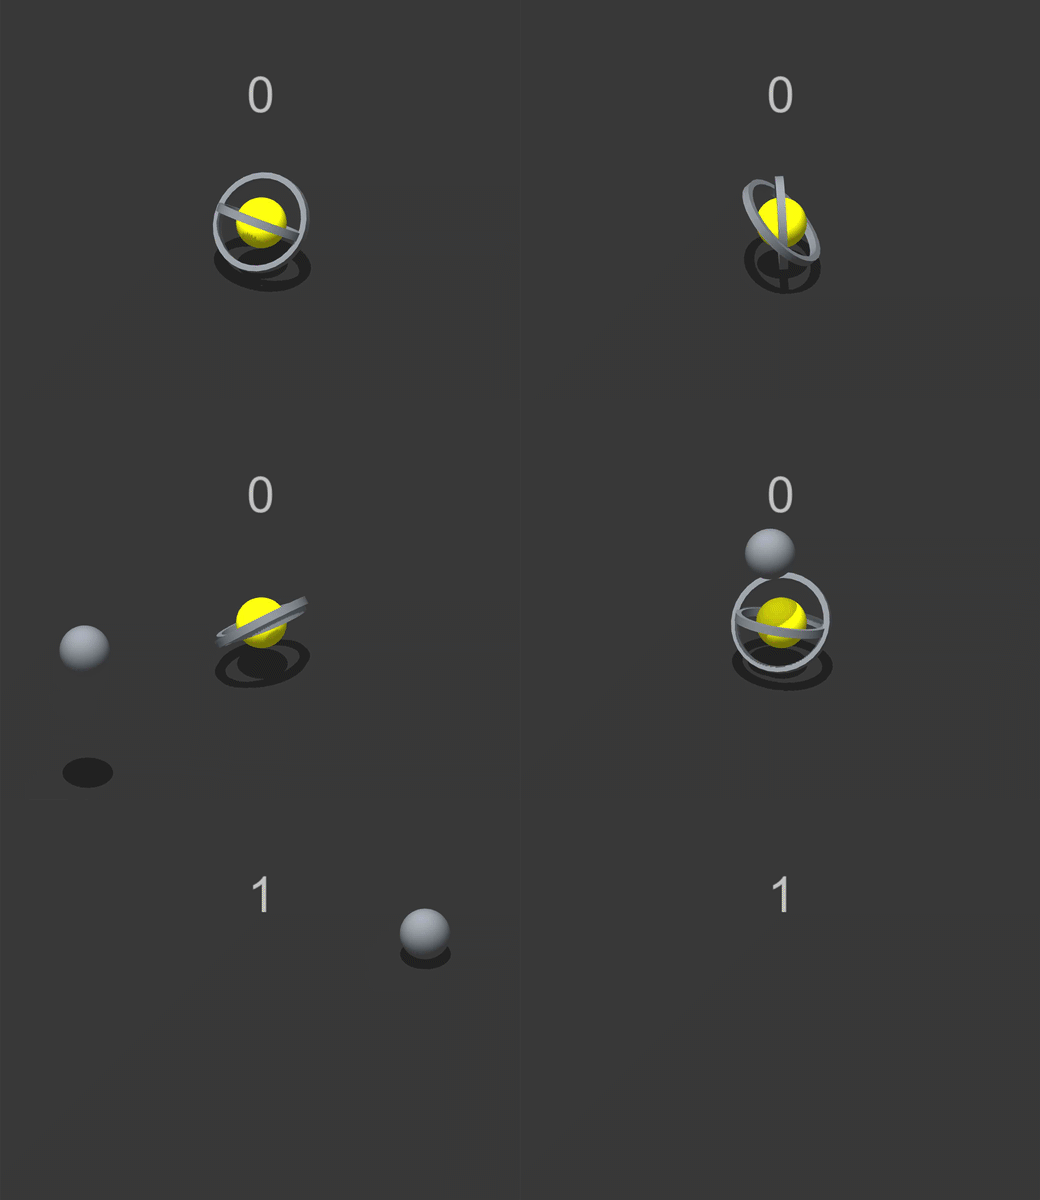
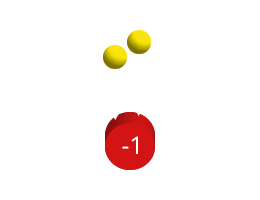
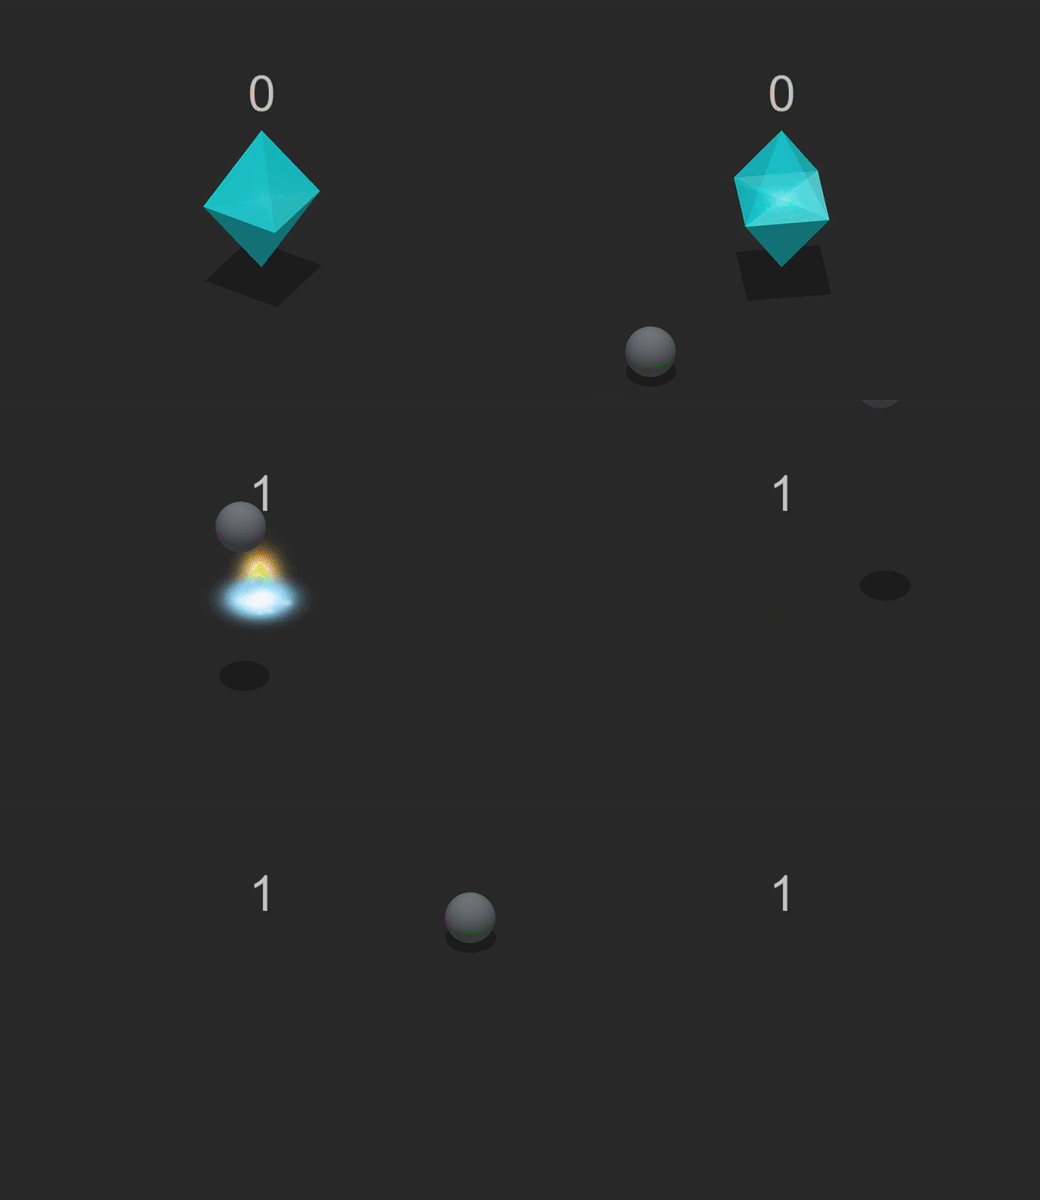
Atom Point A sphere with two rings that rotate constantly around it. When colliding with another asset, the Atom Point increases the current score and disappears with an effect.
Point After colliding with another asset, this asset adds a point to the current score, then disappears.
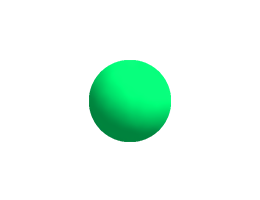
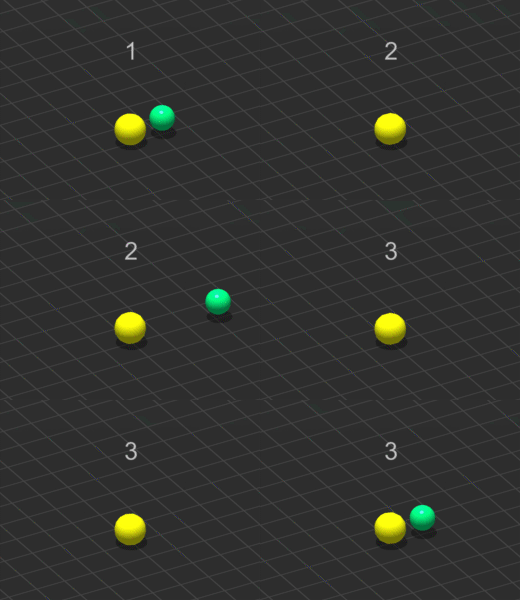
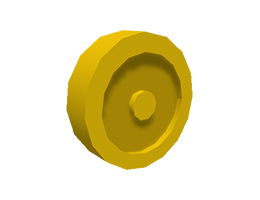
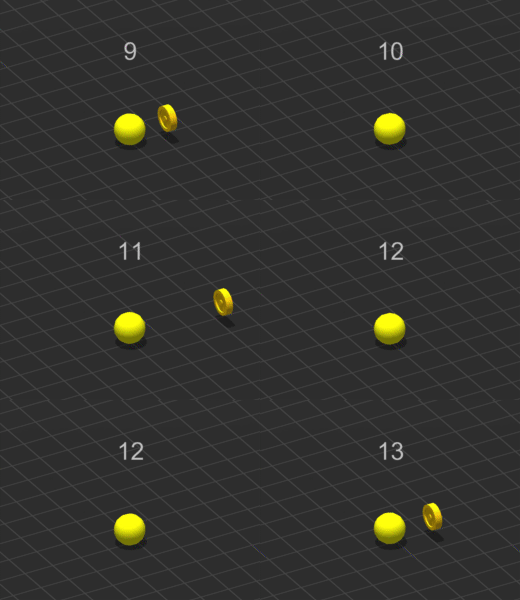
Coin After colliding with another asset, the coin adds a point to the current score, then disappears.
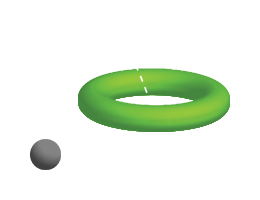
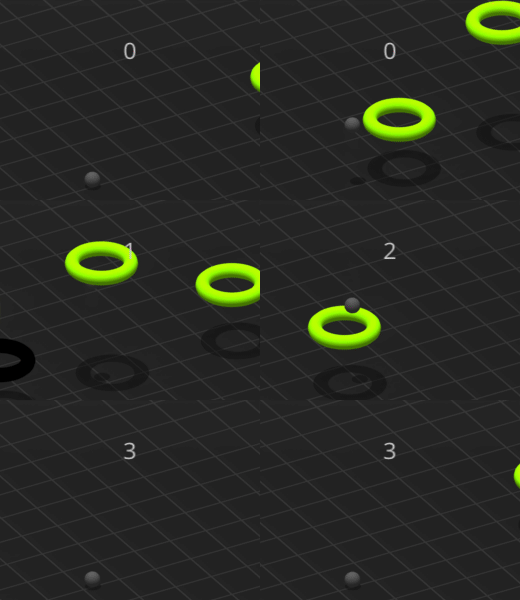
Hoop When another asset moves through the hoop, the current score increases by 1, and the hoop turns black with an effect.
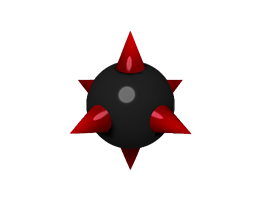
Enemy A rotating asset that acts as an enemy in the game.
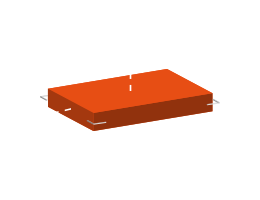
Platform An asset that is used as a ground, wall, or ceiling. Other assets with physics enabled bounce without passing through it.
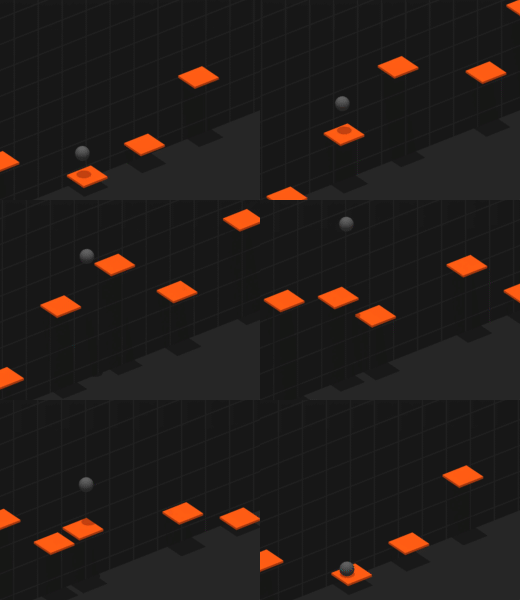
Float Platform A vertical floating platform that other assets with physics enabled will not pass through.
Flap An asset affected by gravity that jumps whenever the player clicks or taps the screen.
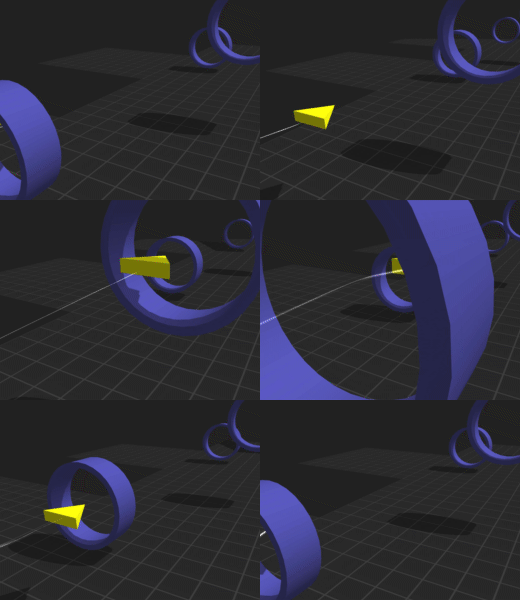
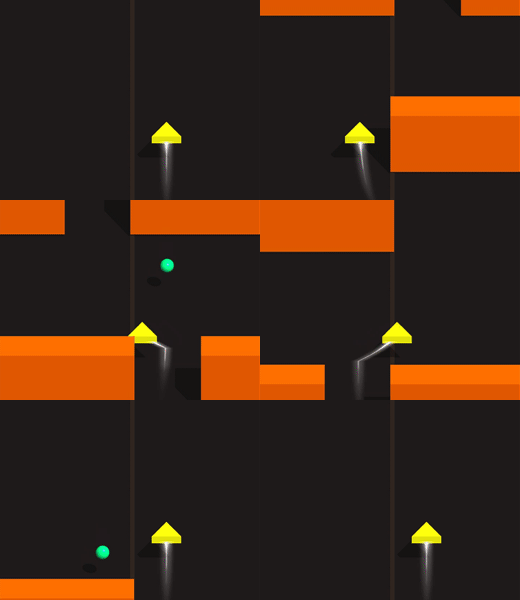
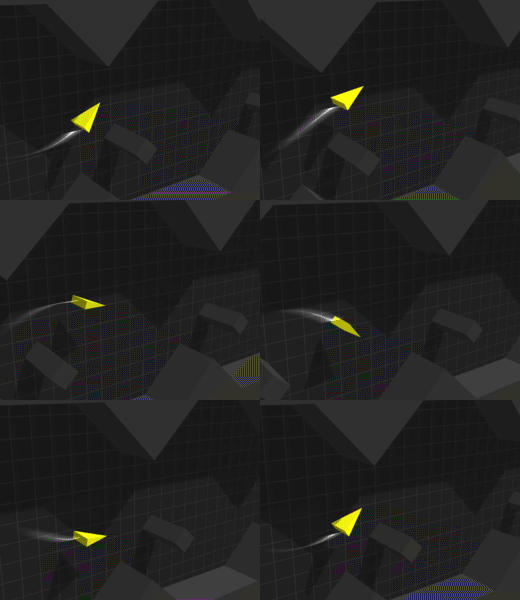
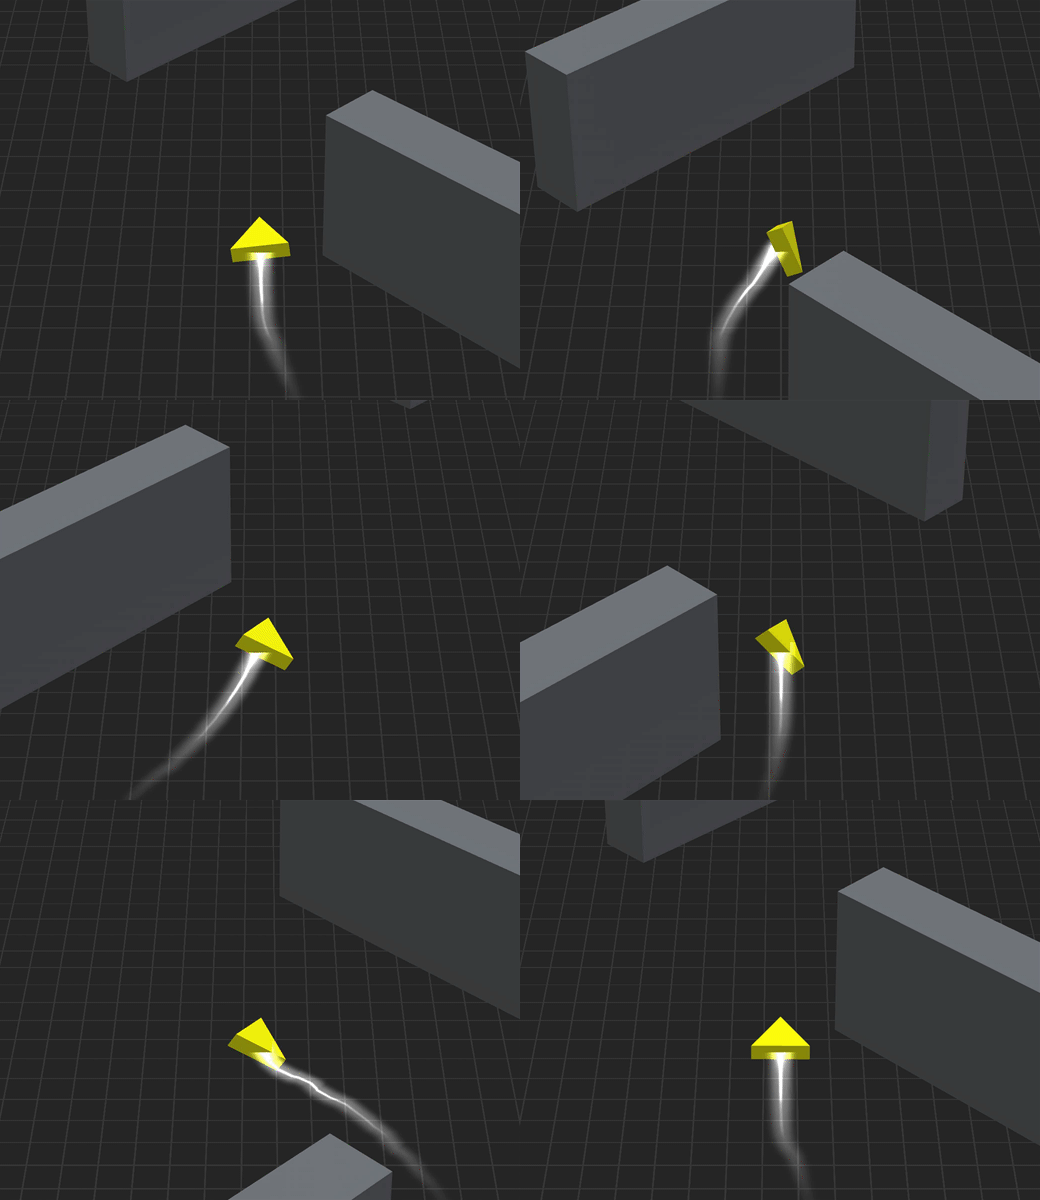
Deep fly A forward-moving, flying asset that changes its direction based on how the player drags a finger or mouse across the screen. After colliding with an enemy asset, this asset will become defeated with an effect.
Lanes A forward-moving asset that zig-zags and switches lanes to avoid an obstacle when the player taps or clicks the screen.
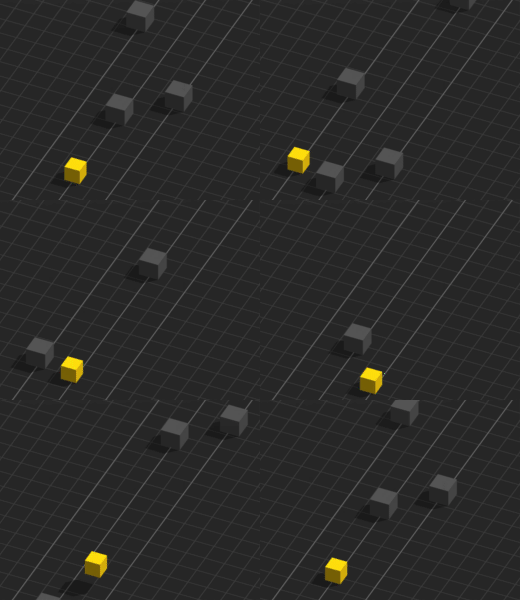
Swipe 3 Lane A forward-moving asset that zig-zags and switches between three lanes to avoid an obstacle when the player taps or clicks the screen.
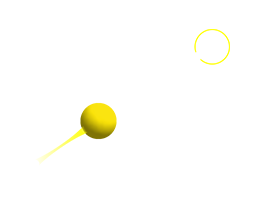
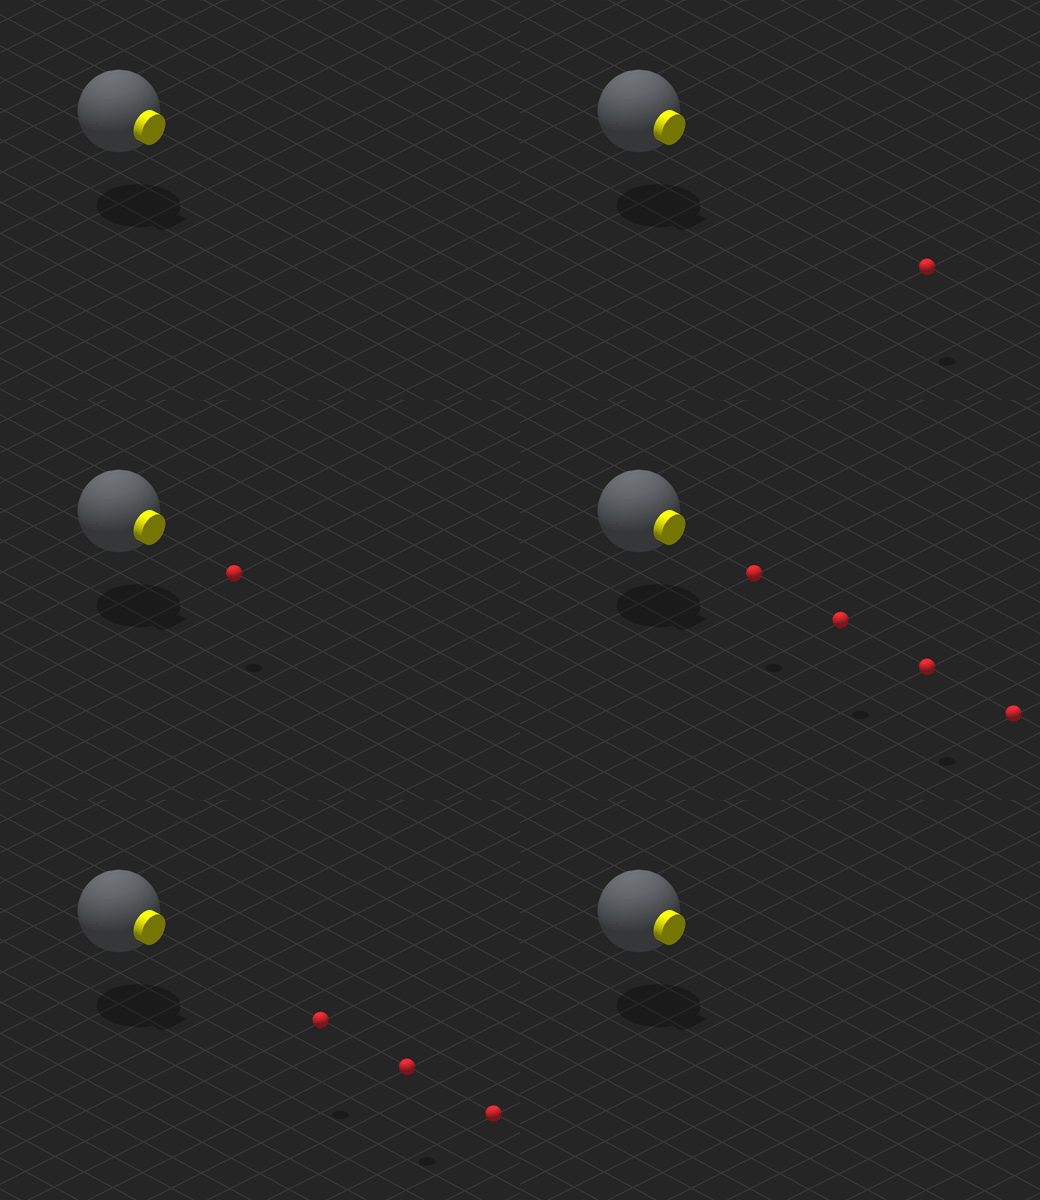
Slingshot The Slingshot asset launches in a given direction based on how far back the player pulls and aims the asset.
  • 3D Model
  • CueBall (Custom)
  • CueLine (Custom)
  • CueArrow (Custom)
  • Slingshot (Custom)
Float A forward-moving asset that the player keeps floating in the air by using their finger to tap and hold or using their mouse to click and hold the screen.
Flip An object that jumps and rotates forward when the player clicks or taps the screen.
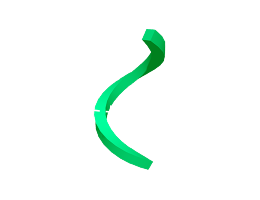
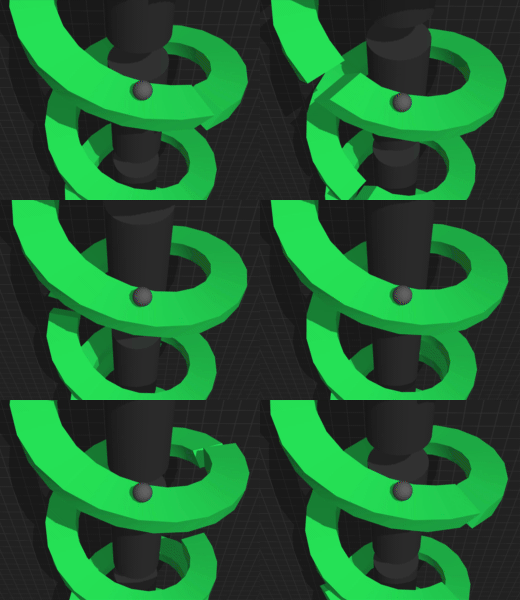
Spin Helix A spiral asset with a constant rotating motion.
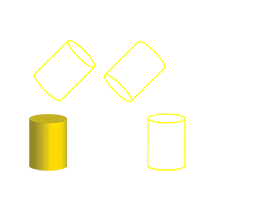
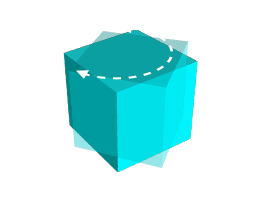
Twist Cylinder An asset that twists left and right when the player drags a finger or mouse across the screen.
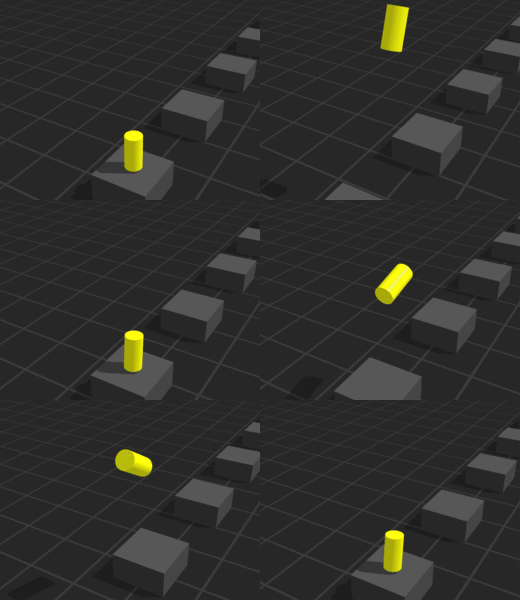
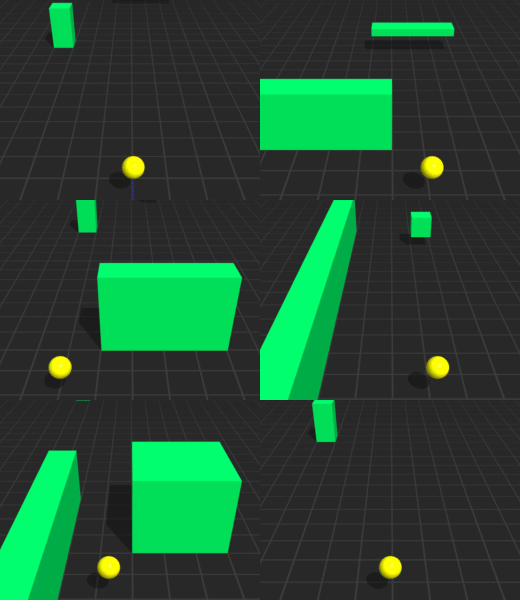
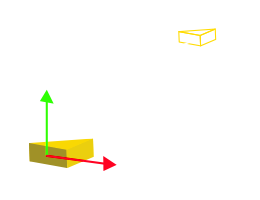
Position Cube An asset that moves away when a character approaches it.
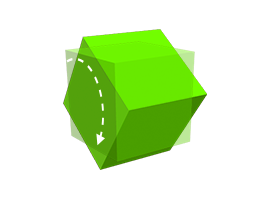
Rotation Cube An asset that rotates and gets out of the way when a character approaches it.
Scale Cube An asset that increases its size when a character approaches it.
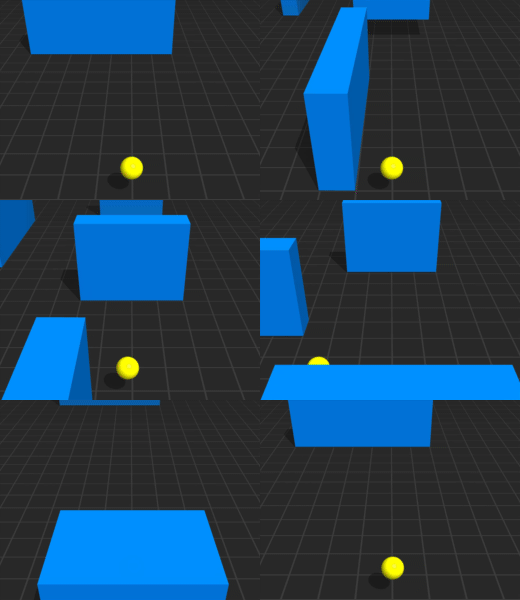
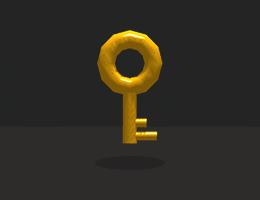
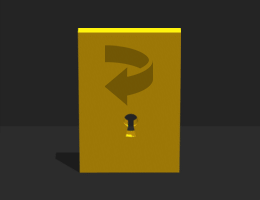
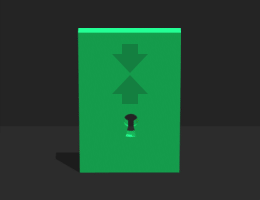
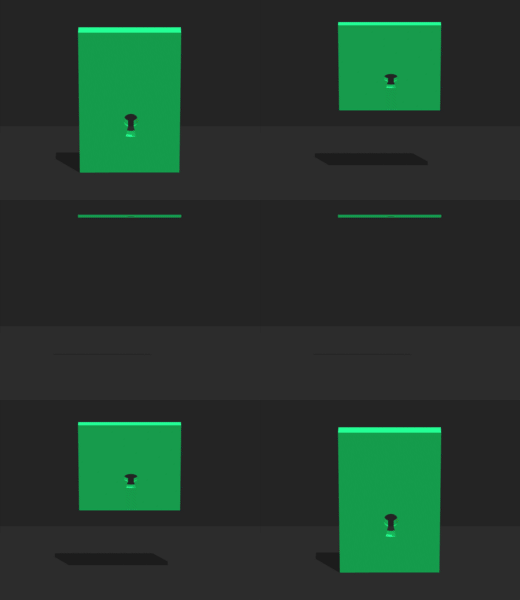
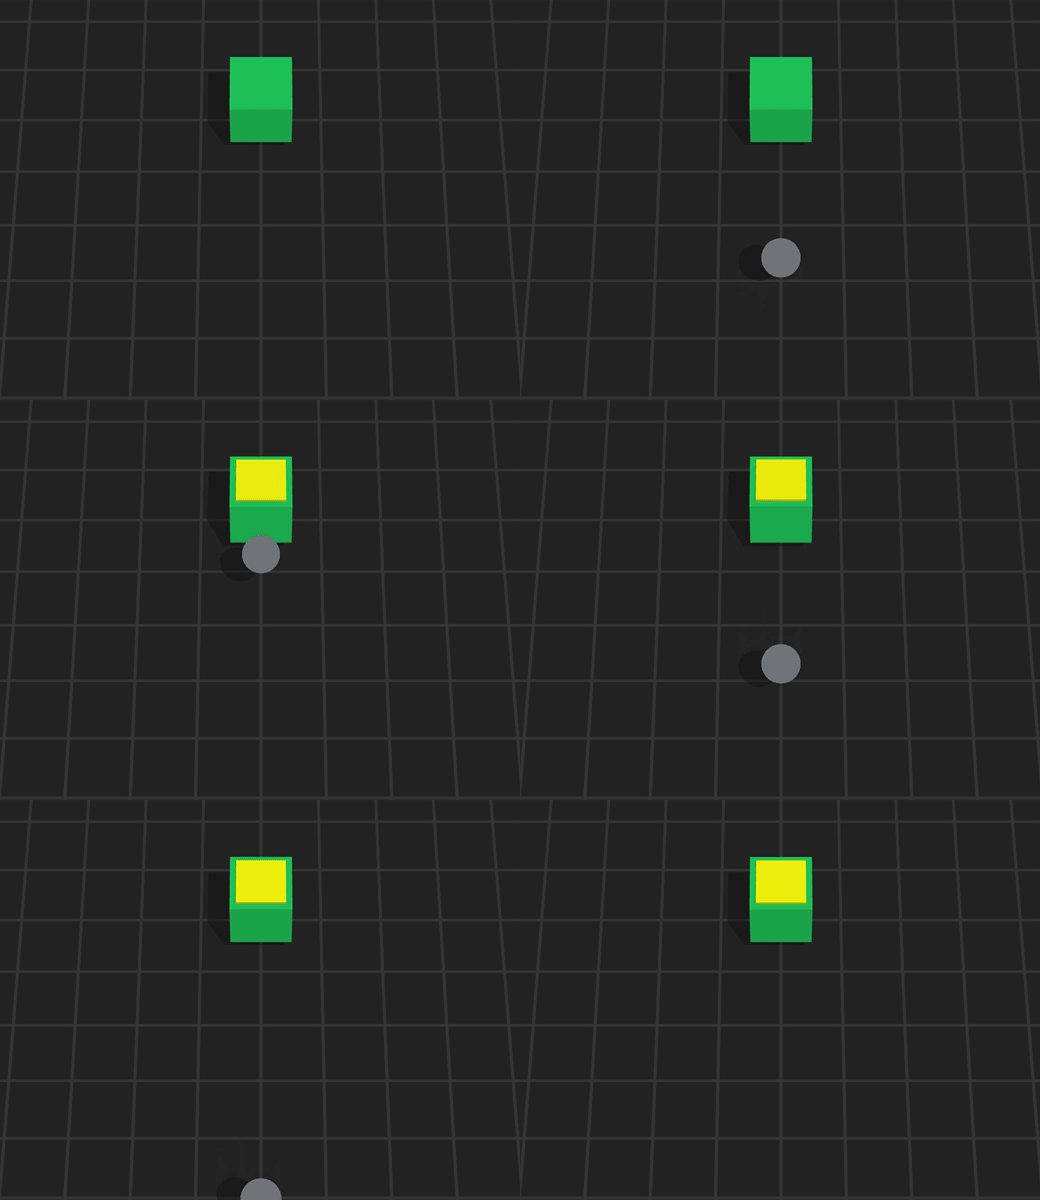
Door Key When colliding with another asset, this asset activates the door swing, door scale, and door slide assets then disappears.
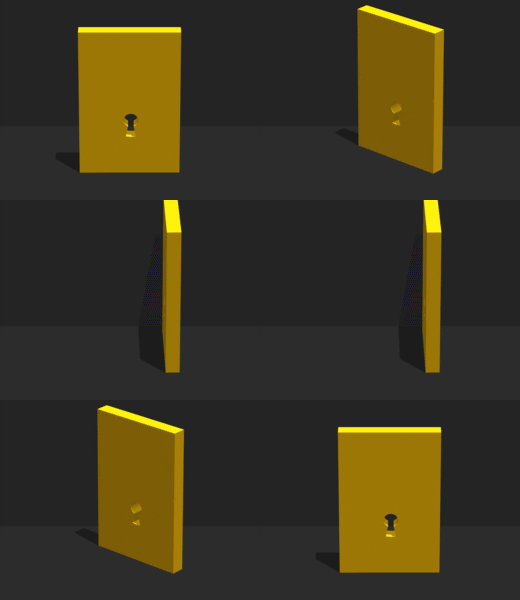
Door Swing A door asset that swings open when an asset collides with a Door Key asset.
Door Slide A door asset that slides open when an asset collides with a Door Key asset.
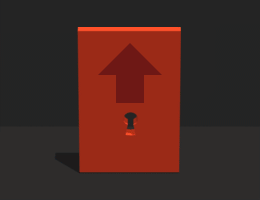
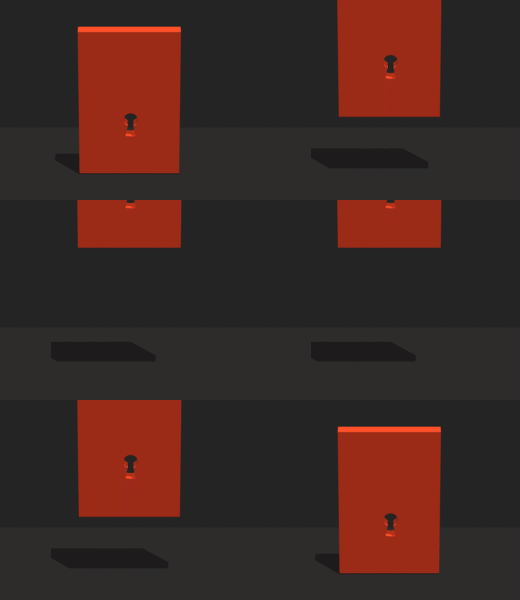
Door Scale A door asset that shrinks vertically to open when an asset collides with a Door Key asset.
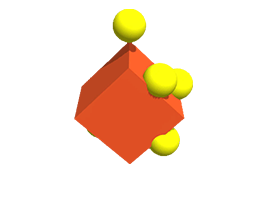
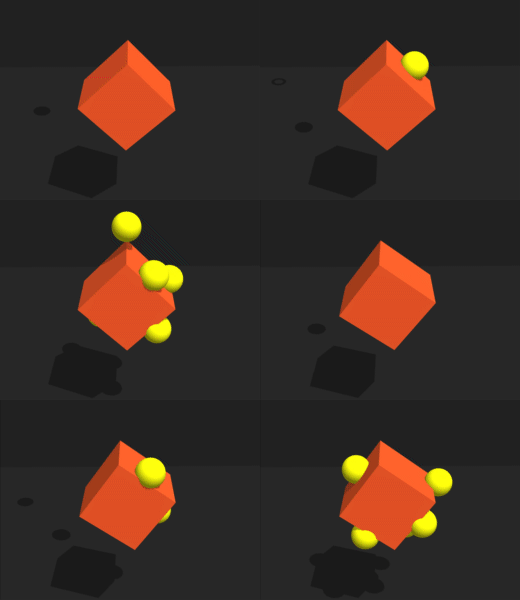
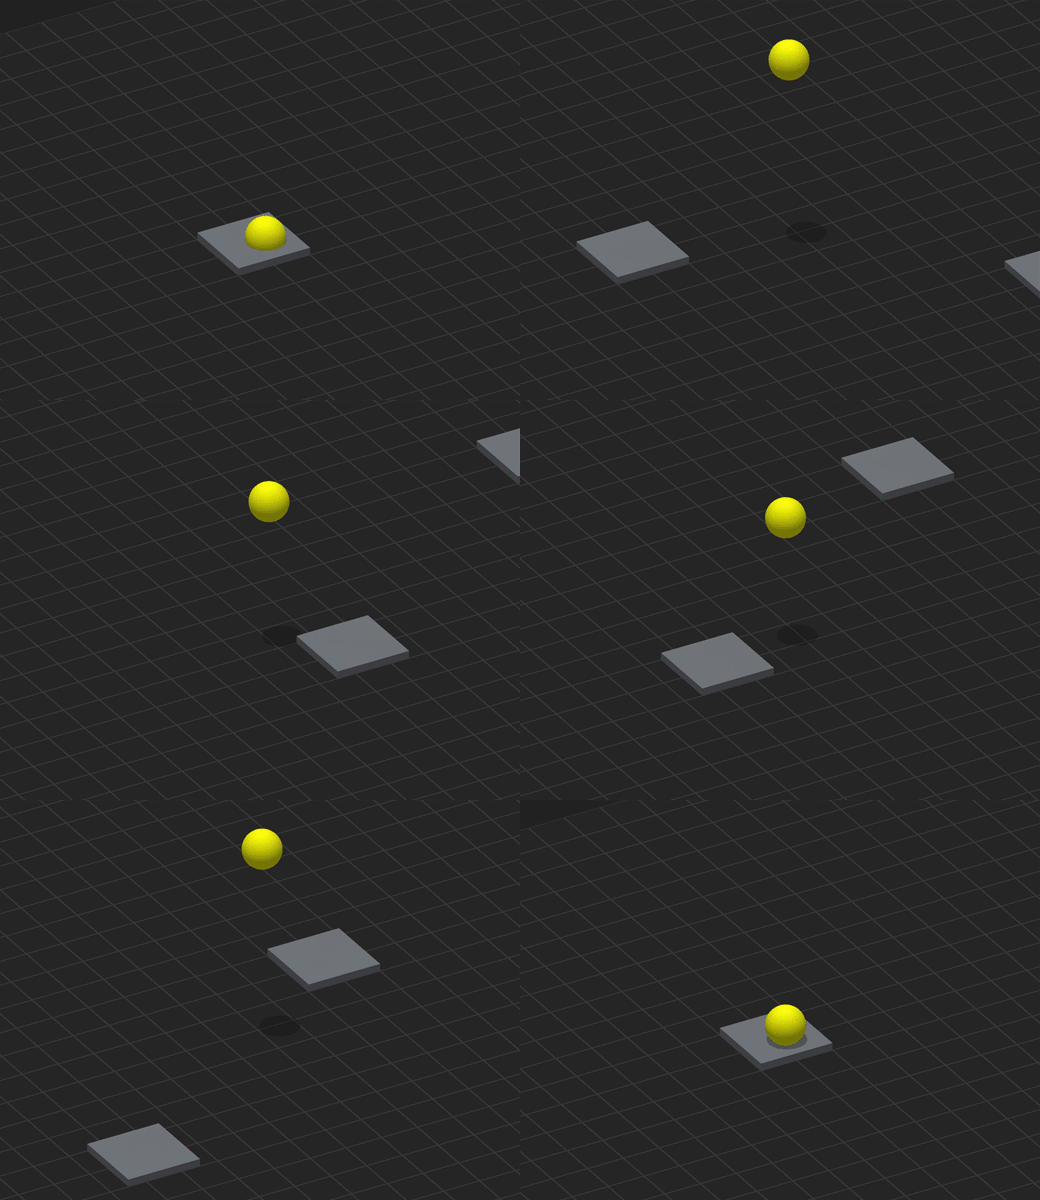
Sticky Sphere An asset that sticks to any asset that it collides with.
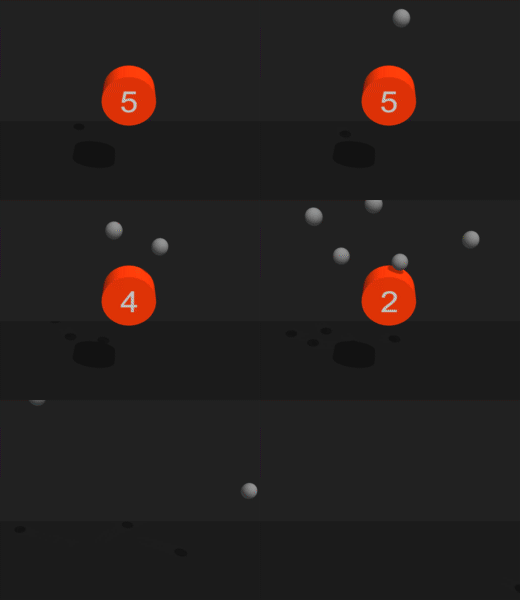
Hit Cylinder An asset that changes color and takes damage when colliding with other assets.
Roto Cube An asset that rotates in a specified direction when another asset moves close to it.
Swing Cube An asset that rotates back and forth when another asset moves close to it.
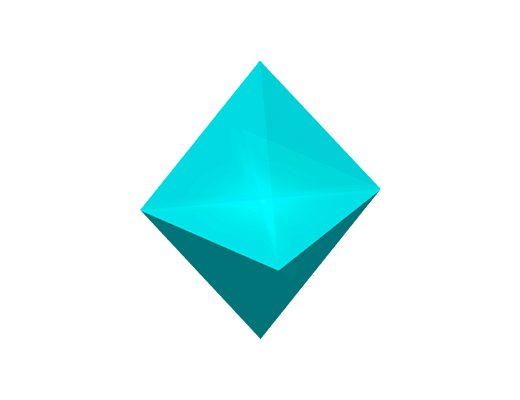
Diamond When colliding with another asset, this asset adds a point to the current score, plays an effect, then disappears.
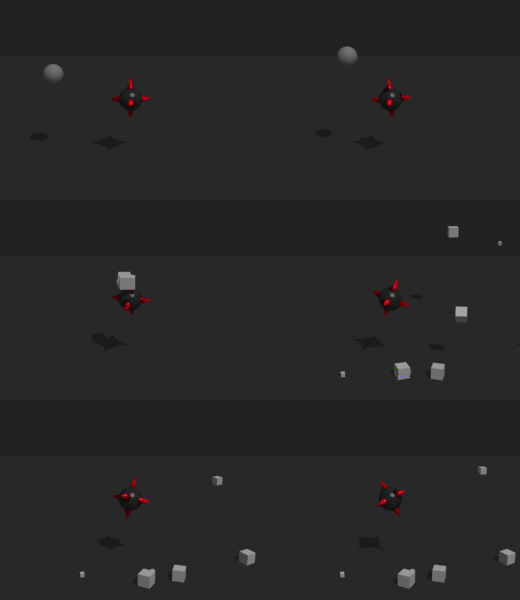
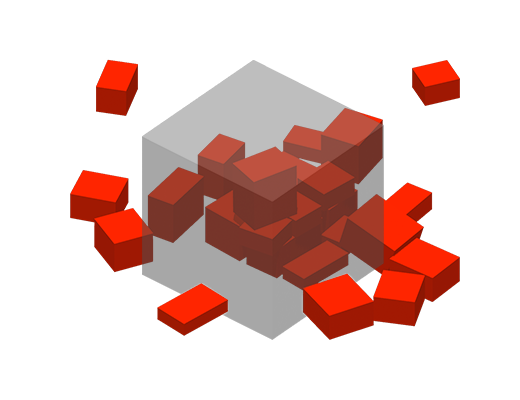
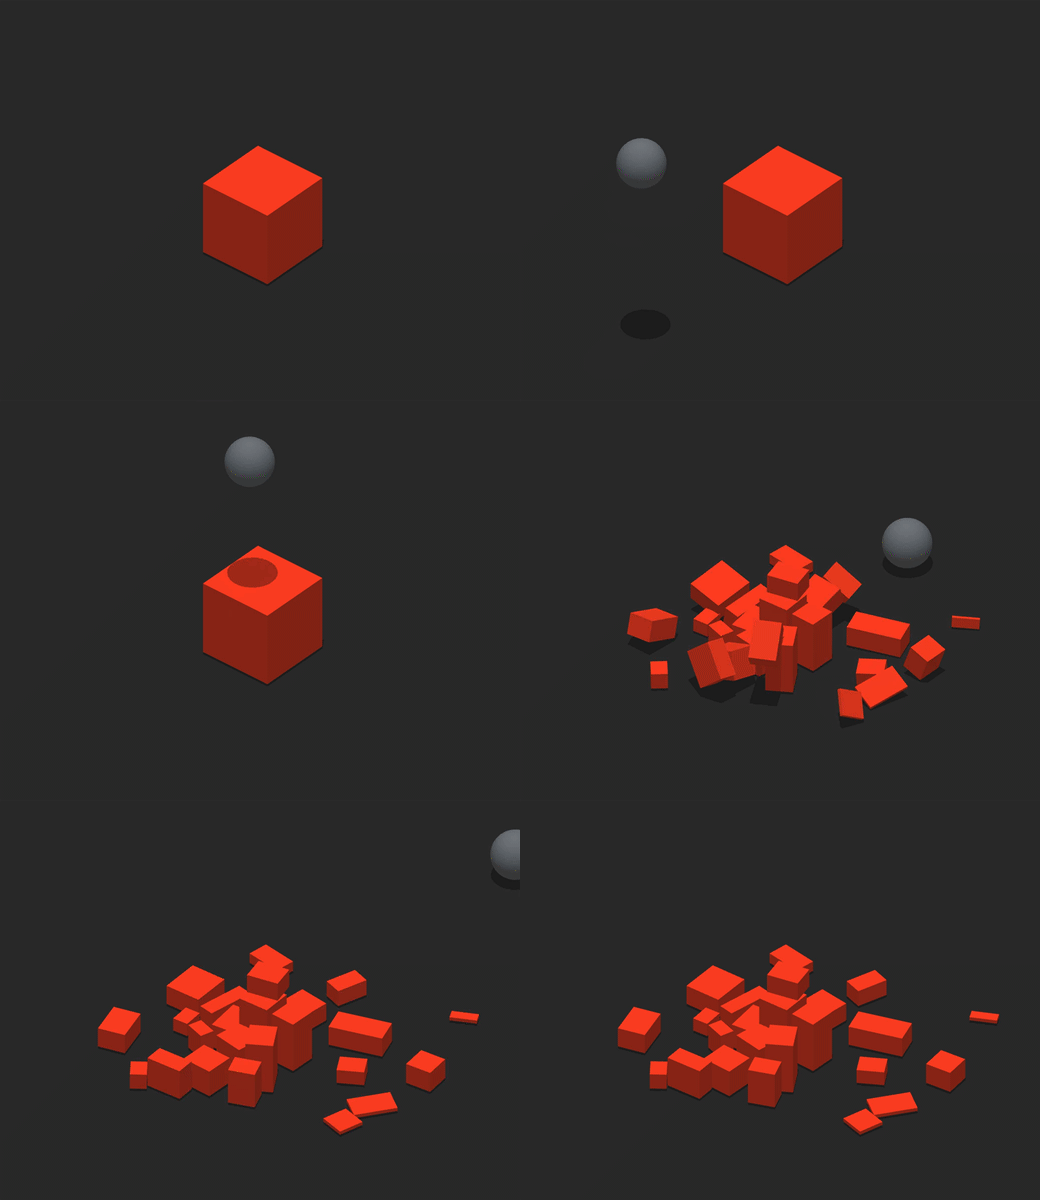
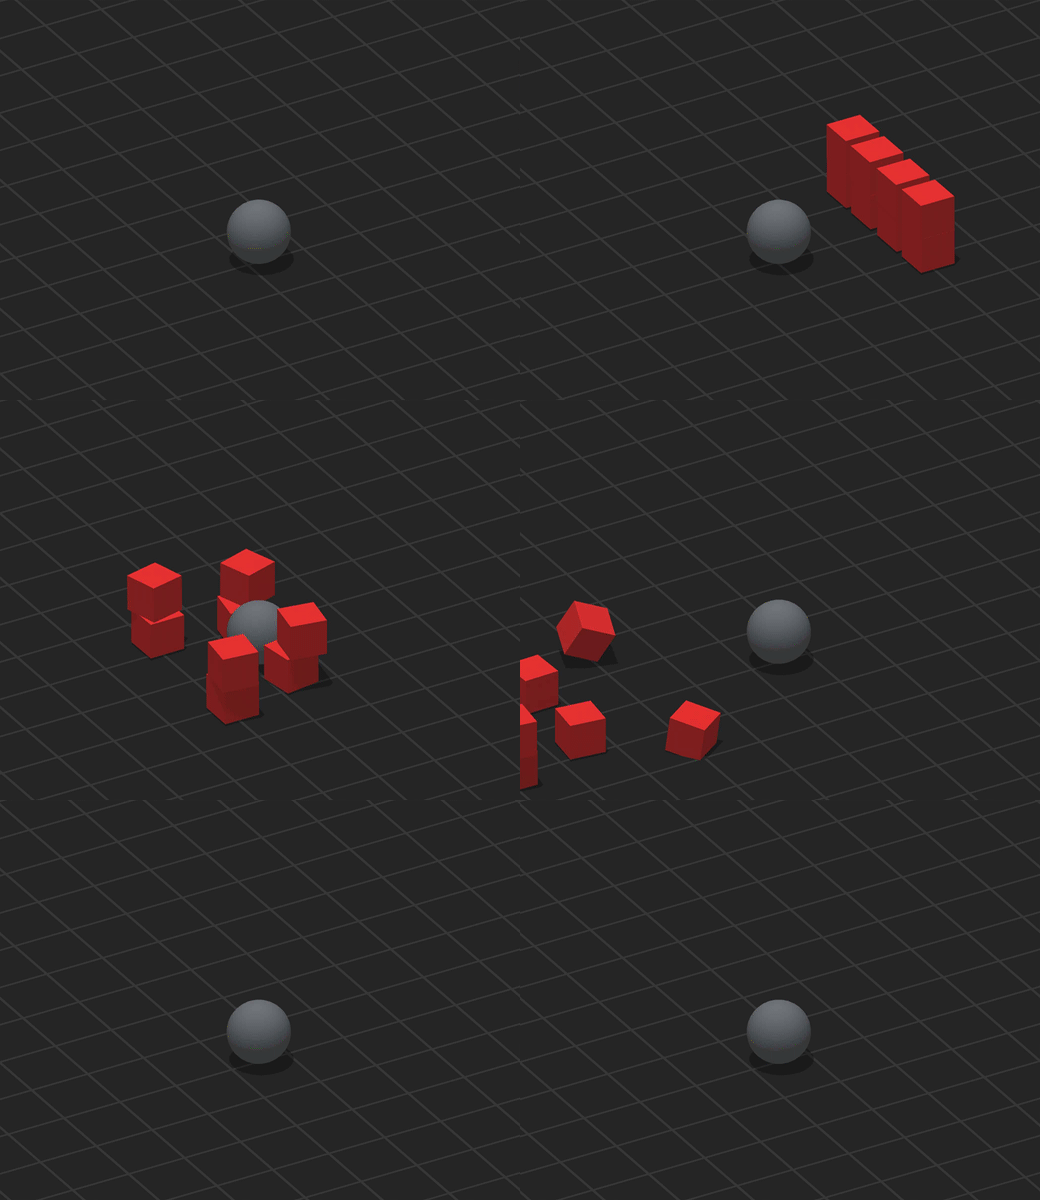
Exploding Cube An asset that bursts into several smaller cubes when colliding with another asset with physics enabled.
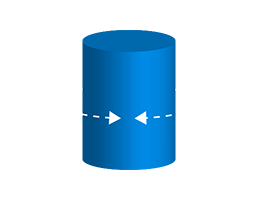
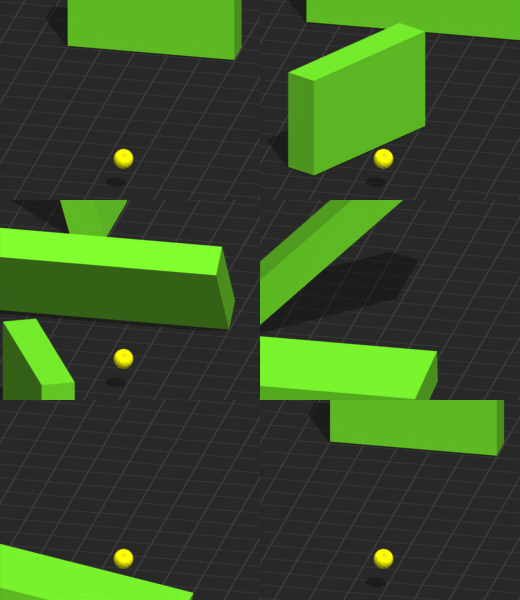
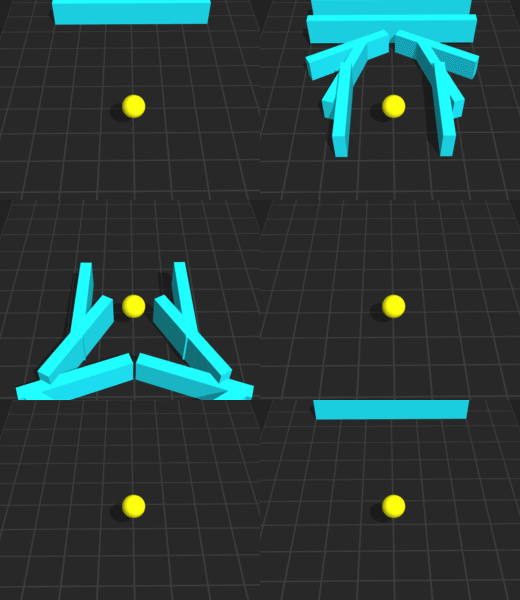
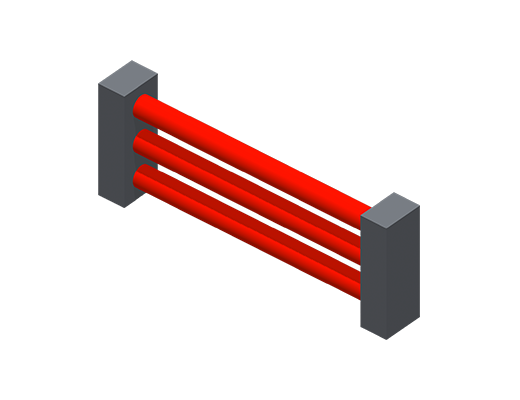
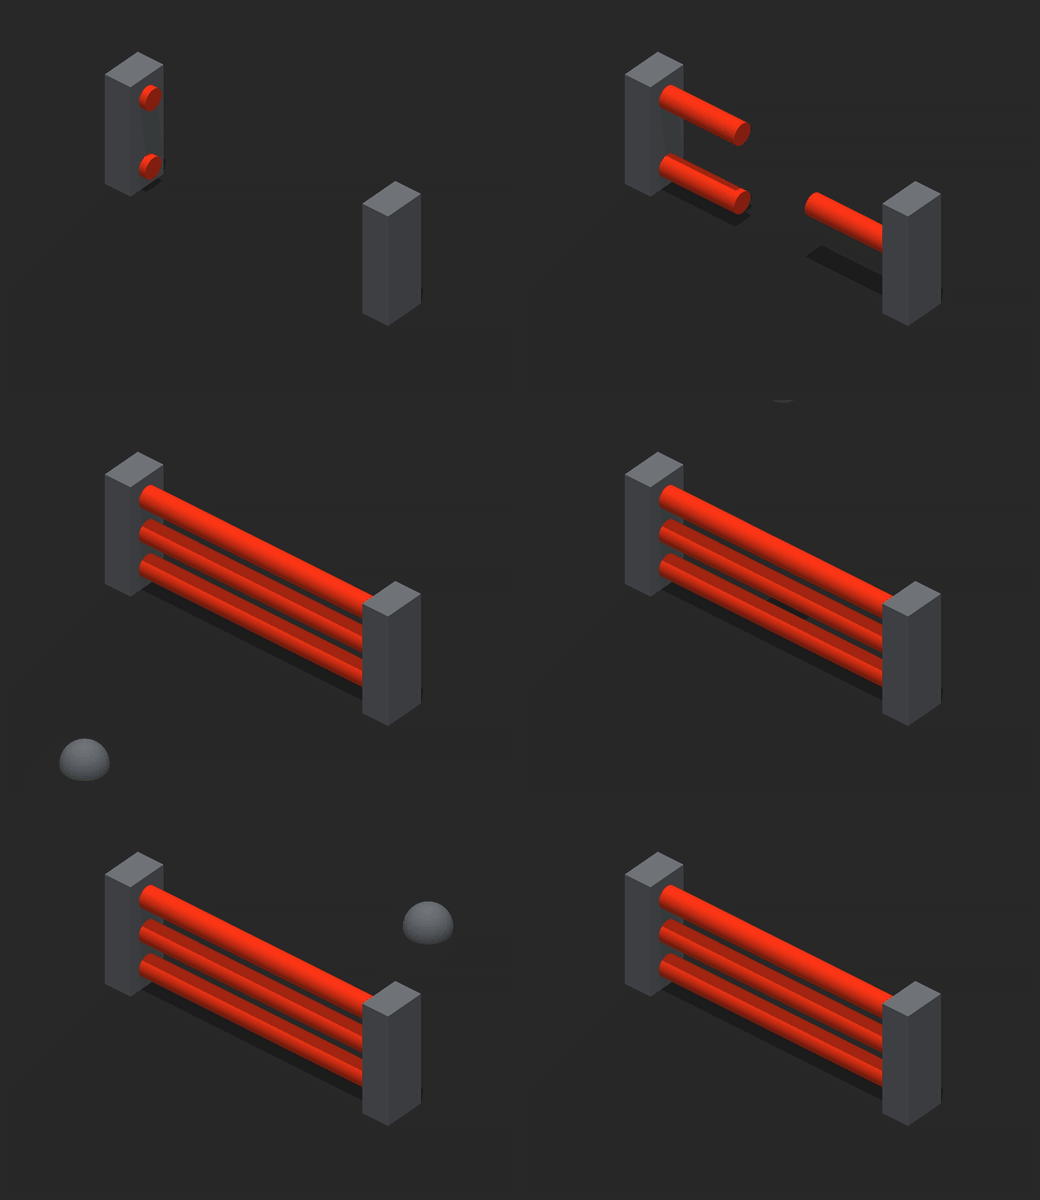
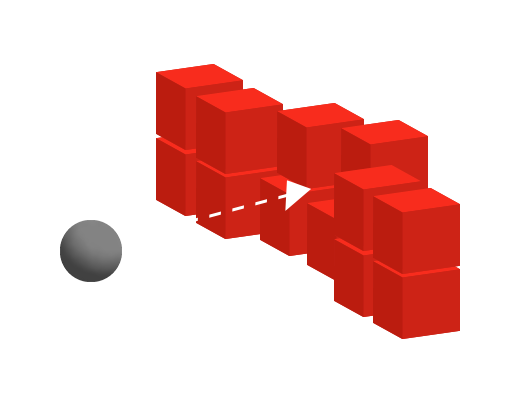
Hydraulic Obstacle An asset with two pillars and three horizontal beams that close to form an obstacle when another asset approaches it.
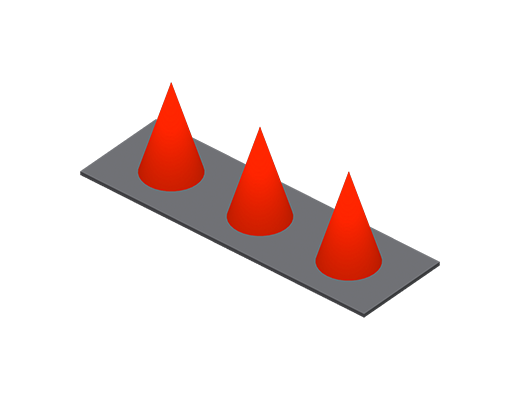
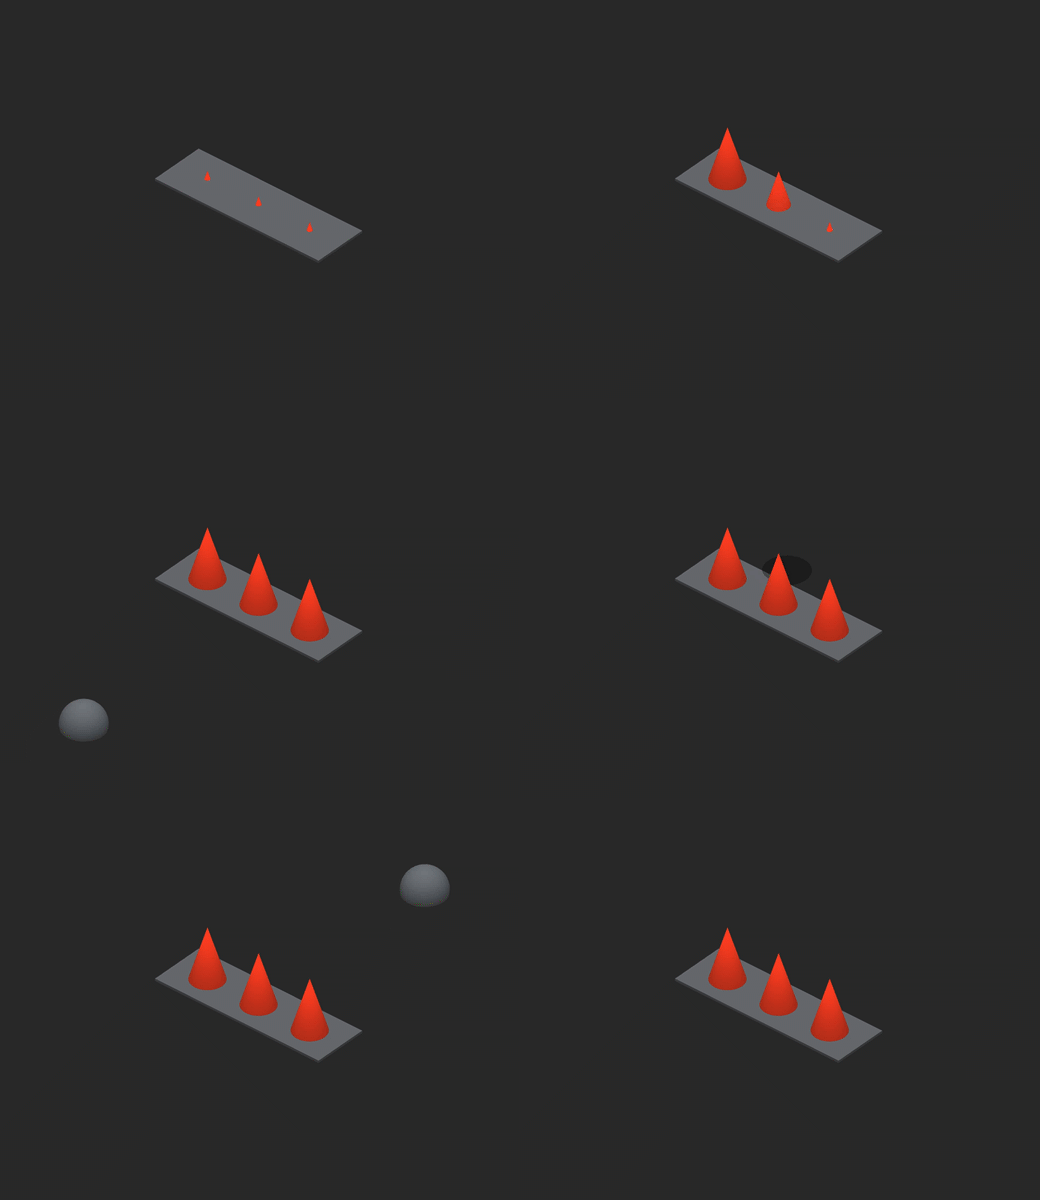
Ground Spikes Three enemy cones that pop up from the ground when another asset approaches them.
Bouncing Ball A forward-moving sphere that bounces off a surface and allows players to change its position by dragging their mouse or finger across the screen.
Draw Ball A sphere that follows a path drawn by the player using a finger or mouse.
Fly Rotation A forward-flying asset that moves from side to side and rotates when the player drags a finger or mouse across the screen.
Jumping Ball A forward-moving sphere that jumps when the player taps or clicks the screen.
Jumping Cube A forward-moving cube that jumps when the player taps or clicks the screen.
Simple Shooter An asset that shoots bullets or other objects when the player taps or clicks the screen.
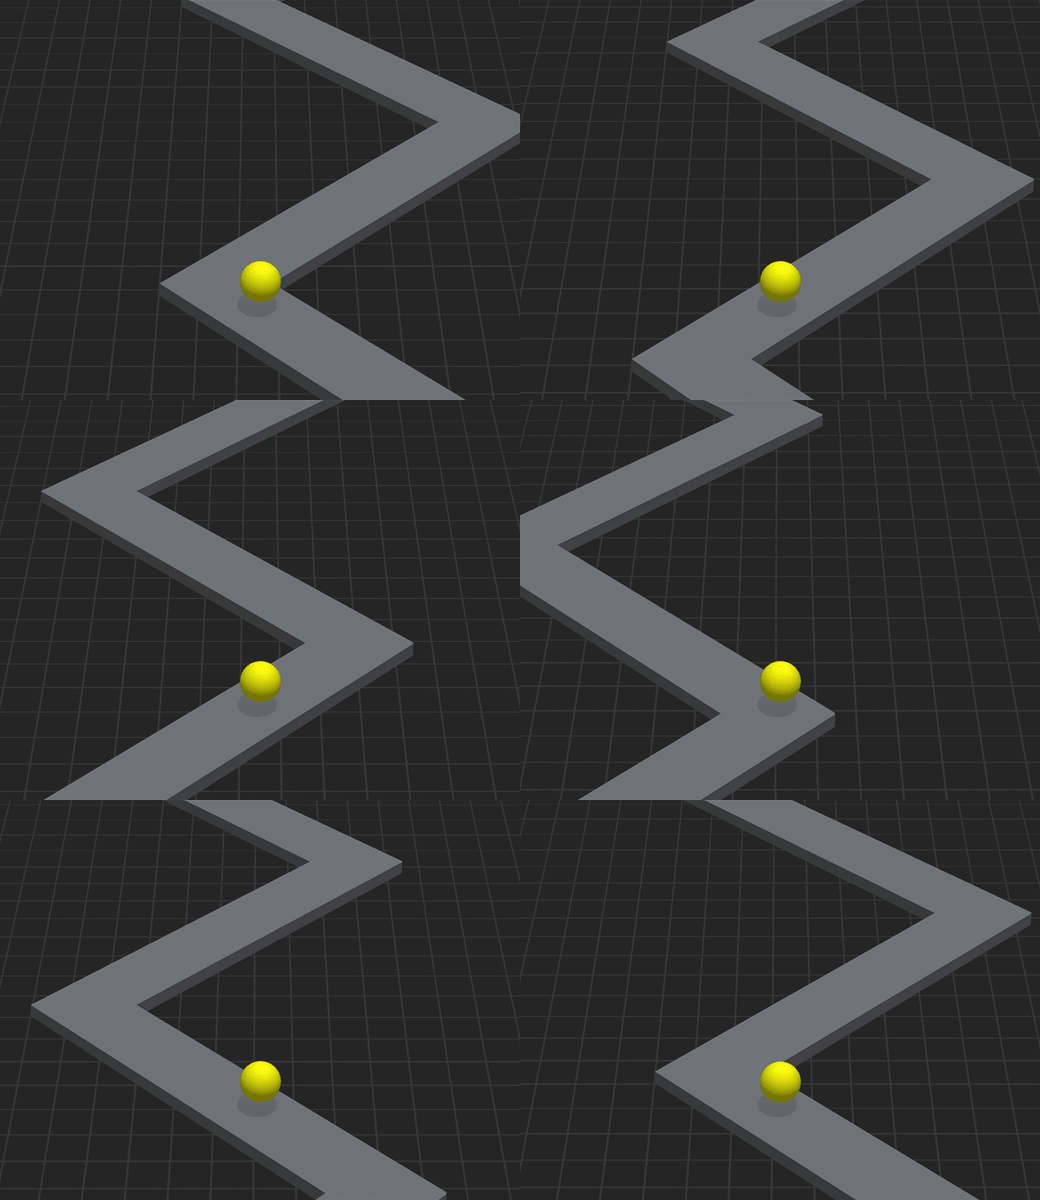
Switch Ball A forward-moving sphere that zig-zags when the player taps or clicks the screen.
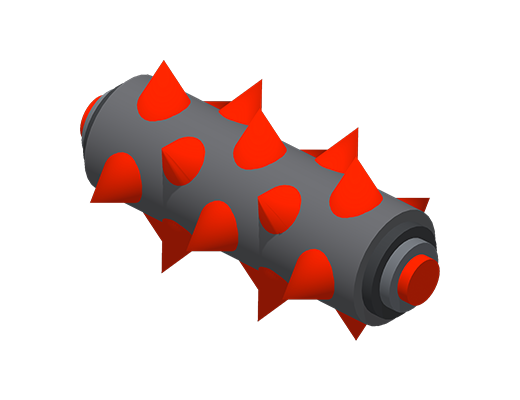
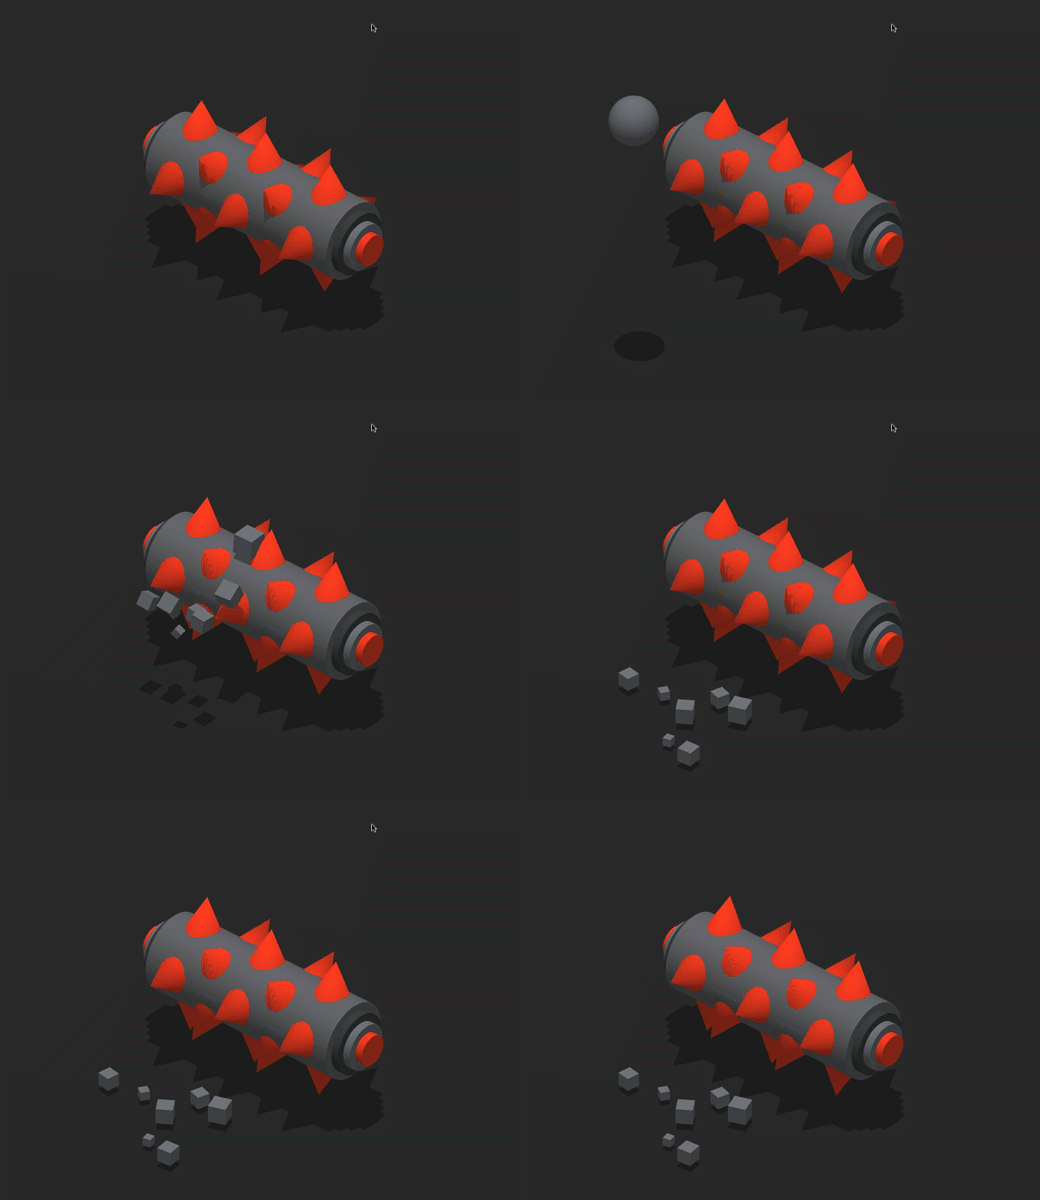
Beam A rotating spiky cylinder that acts as an enemy in the game.
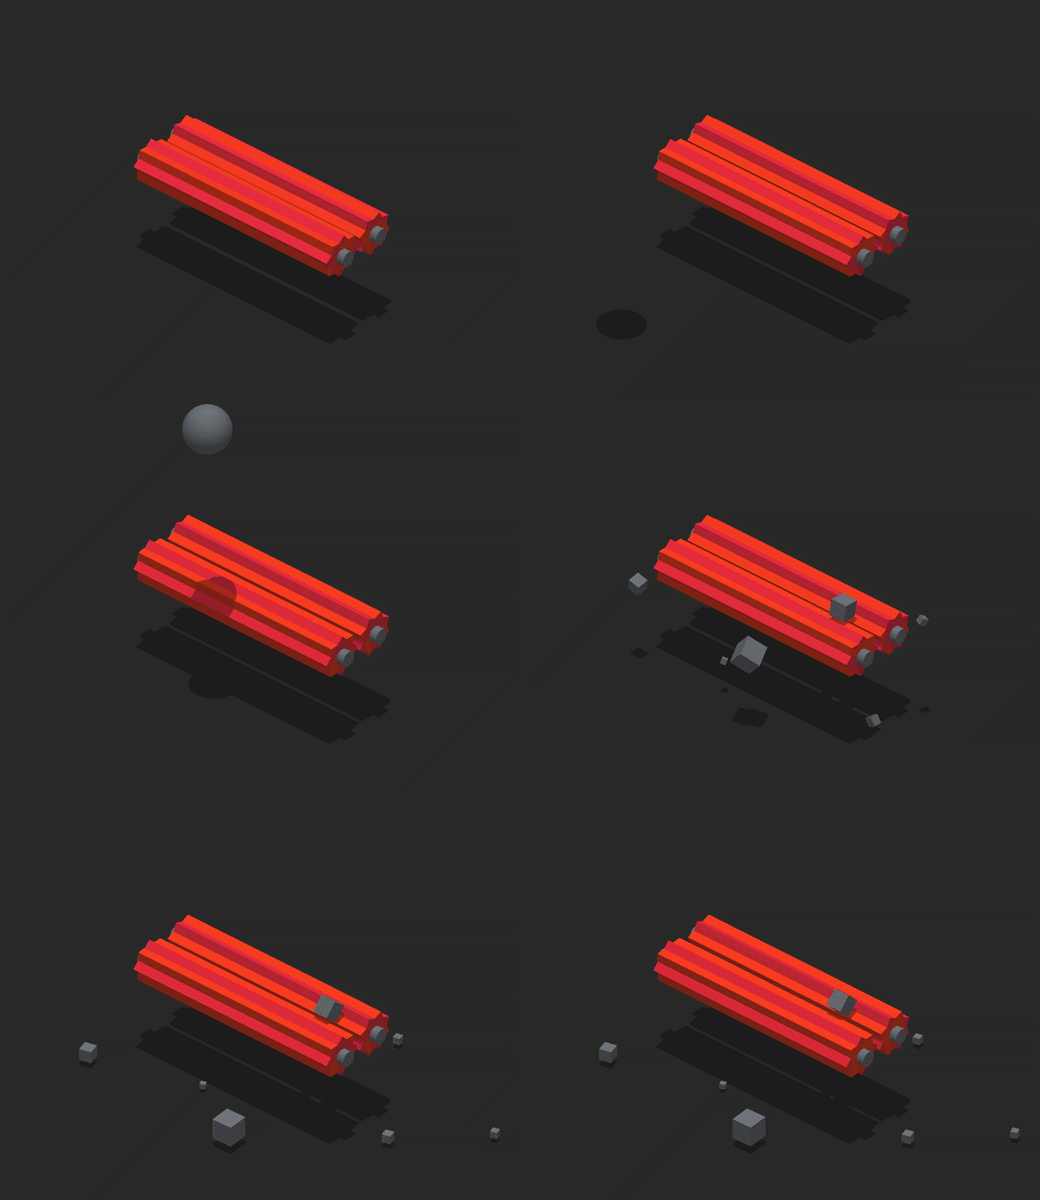
Gear Grinder Two rotating gear-grinding cylinders that act as an enemy in the game.
Cube Flip A cube that flips to a different side when another asset collides with it.
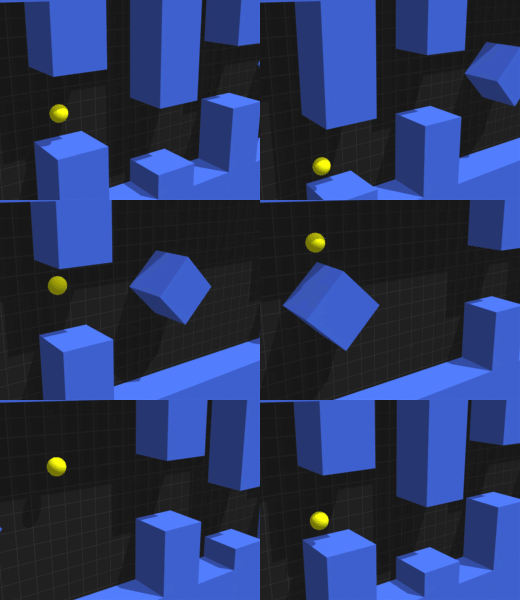
Obstacle Dynamic An obstacle that is knocked over or pushed when another asset collides with it. When several obstacles are used and stacked, they fall apart. 3D Model
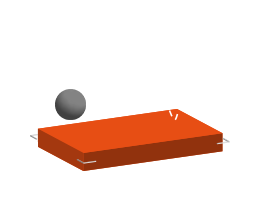
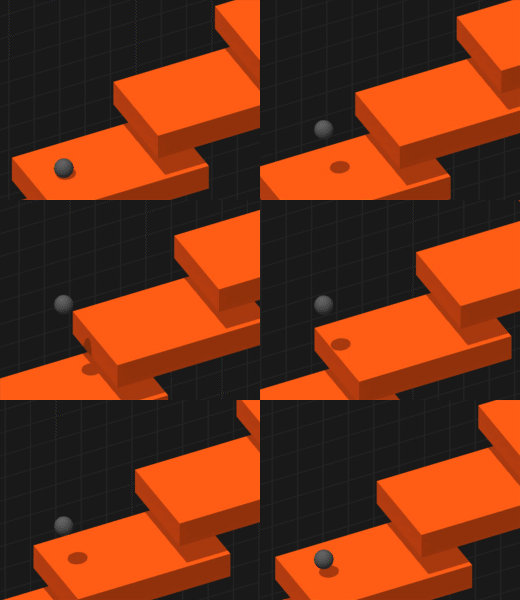
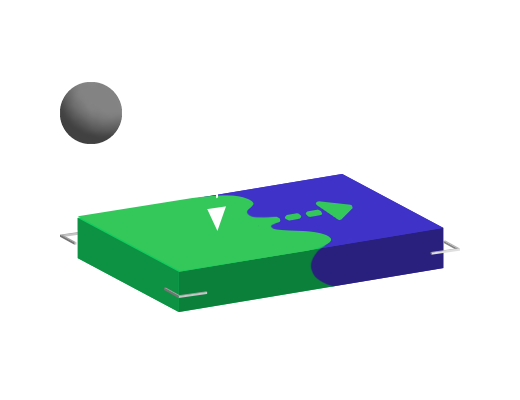
Platform Color A platform that changes color when a character lands on it.
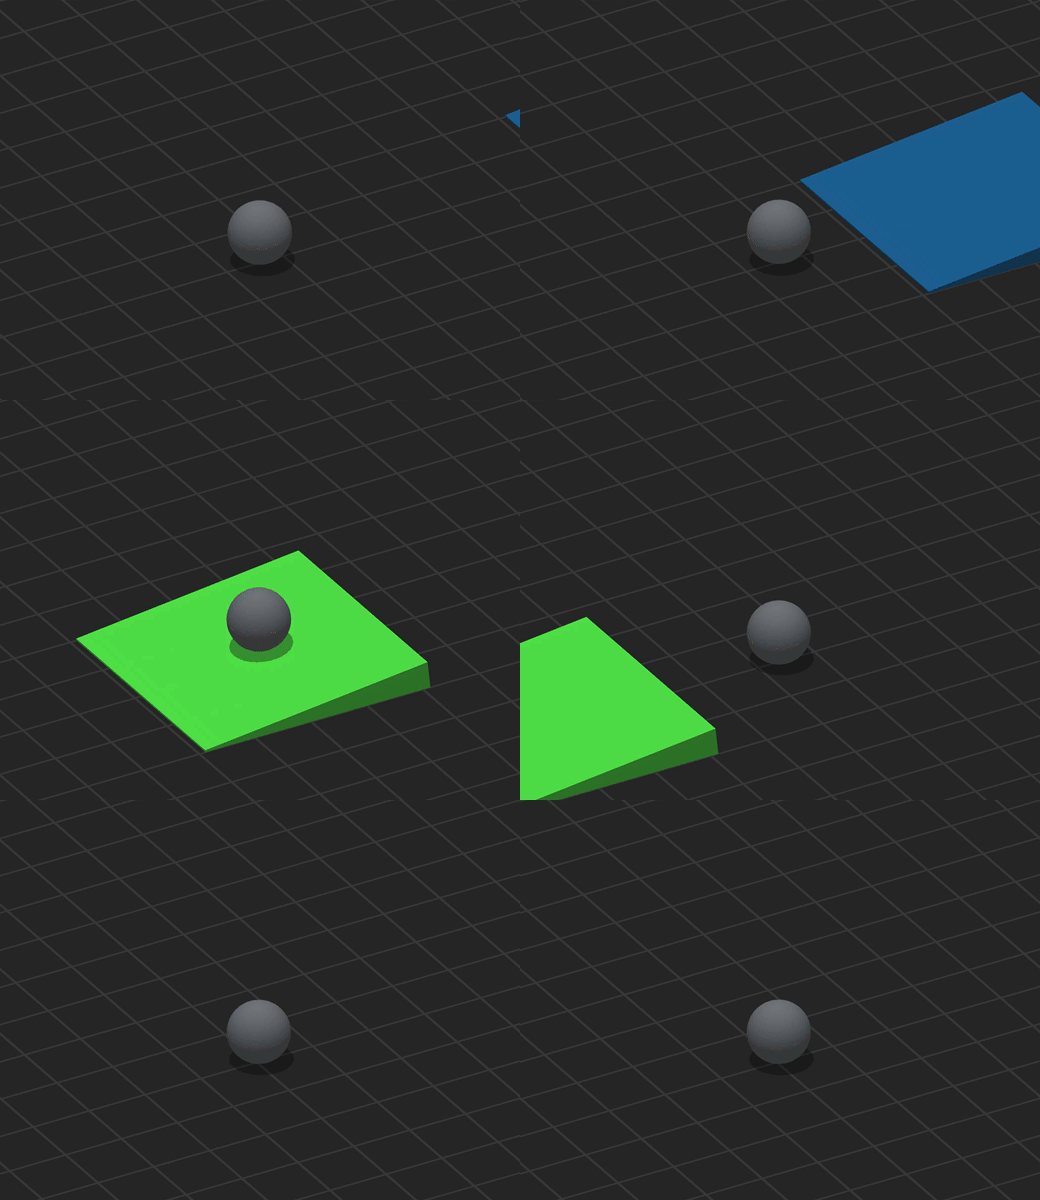
Platform Lift A platform that moves up when a character lands on it.

For more details and demonstrations, see the video below.


3D World Asset Panel – Buildbox 3 Manual

By |

3D World Asset Panel

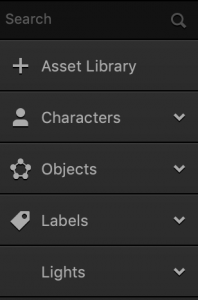
This is the panel on the far left side of the World workspace. It lists all assets available for adding to the scenes of the selected world and allows you to add new ones from the Asset Library.

  • To add an asset to the game, select it in the Asset panel and drag it to the Scene Editor, and it will be automatically placed in the center.
    You can then use the Scene Editor tools to position each asset as needed.

    To add multiple assets to a scene, hold SHIFT and select all desired assets, then drag them to the scene.
  • To view or edit the properties of an object or character in the Asset panel, click the object or character name and the Options panel is displayed. From here, you can set the collision group for the asset, define its shape and other attributes.
  • To delete an asset from the Asset panel, hover your mouse over it and click x.
  • To extend the panel vertically, if needed, close the Helper.
Panel Item Description
Search   Enter the name of an asset you want to search for in the Asset panel.
Asset Library Click to open the Asset Library where you can preview and choose 3D basic shapes and advanced assets for your game.

To close the library, click Asset Library again.
Characters Assets that the camera can follow in the game and which the player can control. For details on how to make an asset a character in the game, see Creating Characters.

To add a character to the scene, drag the object you want to make a character from the Objects list below and drop it on this button.

To delete a character, hover your mouse over it and click x.

Objects Assets used in the game World. The player can control objects, but the game camera cannot follow them.

You can add as many objects as you need from the Asset Library. You can make these objects characters, enemies, for example, by choosing the appropriate collision group for them in their Options panel.

To delete an object, hover your mouse over it and click x.

Labels Fonts with predefined settings that you can add using the Font Editor.

Drag a font to the Scene Editor to add text to be displayed on the screen or use it to display the game score for the user by choosing the respective option in the Function field of the Options panel on the right. See also Adding Game Score.

Lights If you need additional light sources in the selected scene, you can add two more types of lights, Point Light and Spot Light

Drag a light to the Scene Editor and position it as desired using the tools. If more light is needed, duplicate the light. See also the Point Light and Spot Light attributes that you can define in their respective Options panels.

A scene can only have a maximum of 7 lights.

Right-Click Menu

The right-click menu in the Asset panel offers To access this menu, right-click an asset in the Asset panel and select one of the following options.

Option Description
Edit Nodes Opens the asset’s node map.
Duplicate Creates a copy of the asset in the Asset panel.
Delete Removes the asset from Buildbox entirely.
Export Asset Exports the asset as a BBASSET file to your computer.
Create Group Creates a group folder with the selected asset.
Colors Color codes the asset in the Asset panel. For example, if you select red in the right-click menu, a red line appears to the left of the icon:

Icon sizes Changes the size of the asset icons in the Asset panel.

Group Folders

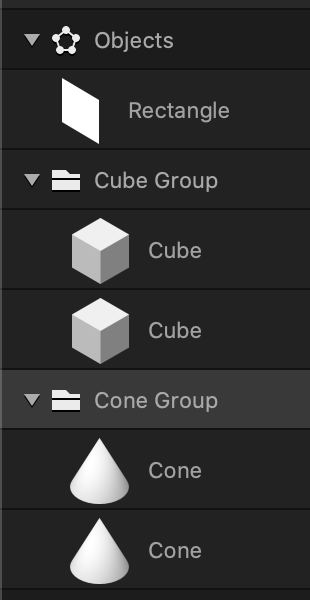
Group folders allow you organize and locate assets more efficiently in the Asset Panel.

  • To create a group folder, right-click an asset in the Asset panel and select Create Group.
    The asset is now in a group folder.
  • To rename a group folder, select it in the Asset panel and in the Options panel, in the Name attribute, type a new name.
  • To move the Group Folder, simply click and drag it along the Asset panel.

Toolbar Buttons – Buildbox 3 Manual

By |

Scene Editor Toolbar Buttons

The buttons described below are located on the Scene Editor toolbar on the right. For the tool buttons shown on the left, see Scene Editor Tools.

Button Icon Description View Example
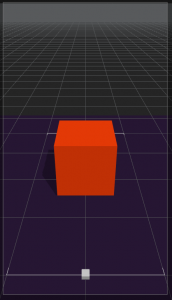
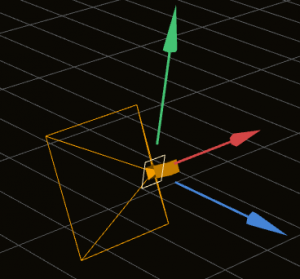
Camera Click to get the camera view of your game. This is what the player will see on the screen.

In this view, you can change the position, rotation and zoom of the game camera.

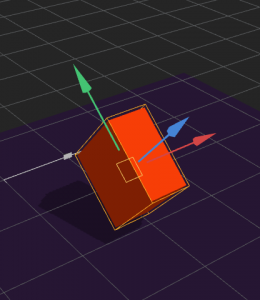
Local Axes Allows you to view the actual object orientation in the 3D space.

Click this button and, depending on the currently selected tool, the position, rotation, or scale axis handles get aligned with object orientation instead of pointing in the standard X, Y, and Z directions.

World Editor Select to hides all collision shapes and components in the Scene Editor.
Collision Shape Editor Click to see the collision shapes of the objects in the scene. Use the Scene Editor tools to rotate, scale, and change the position of the collision shapes of the objects (but not the objects themselves) in the Scene Editor.

Drag the axis handles to move the collision shape to the desired position.

If you don’t see the collision shape of an object, see Viewing Collision Shapes.

To preview the collision shapes in the scene, turn on the Debug Mode in the Preview window.
2D Mode To make a 2D game, click this button to turn on the 2D mode.

Tools – Buildbox 3 Manual

By |

Scene Editor Tools

The following tools are located on the Scene Editor toolbar on the left. For the buttons on the right, see Scene Editor Toolbar Buttons.

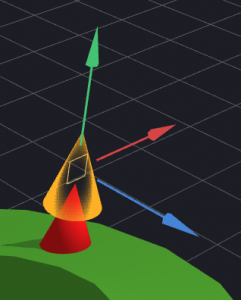
The axis handles of Move, Rotation, and Scale tools correspond to the following attributes in the Options panel, with the green handle representing the X axis, red handle representing the Y axis, and the blue handle representing the Z axis.

Depending on whether the Collision Shape Editor button is selected on the Scene Editor toolbar, you may use these tools to manipulate either the assets themselves or their collision shapes. The examples and instructions in the table below refer to objects but they also apply to their collision shapes.

The keyboard shortcuts for selecting each tool are provided in the Icon column in parentheses. Select an object and use the keys to switch between the tools.
Tool Icon Description Selection Example
Select Tool


(`)

Select multiple objects in the Scene Editor. Just click the tool button and draw a bounding box over the objects on the grid that you want to select.

You can also hold the Shift key and click each object you want to select.

The selected objects get highlighted, with the axis handles displayed in the center of the selected group. Note that the handle shape depends on whether the Move, Rotate, or Scale Tool is currently selected.

To see how this tool can be used, watch the Select Tool video.

Move Tool


(1)

Change the position of the selected object in the scene.

Select the object, then click an arrow axis handles and drag the selected object in the desired direction along the selected axis. For example, to move the camera up, drag the green arrow.

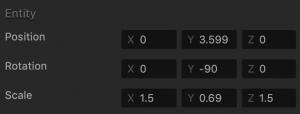
To move the object to an entirely new position, click the square where the arrows converge and drag the object. Alternatively, enter the appropriate numeric values in the Position fields in the Options panel on the right.

To see how this tool can be used, watch the Move Tool video.

Rotate Tool


(2)

Rotate the selected object around a 3D axis.

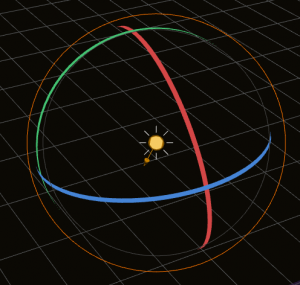
Select the object, then click a circle axis handle and drag it in the desired direction to rotate the object. For example, to change the direction of light, drag the red handle to the left and note how the light reflection and shadows dropped on the objects in the scene change accordingly.

Alternatively, enter the appropriate numeric values in the Rotation fields in the Options panel on the right.

To see how this tool can be used, watch the Rotate Tool video.

Scale Tool


(3)

Reduce or increase the size of the selected object in proportional dimensions.

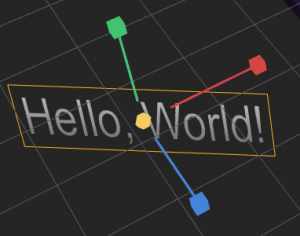
Select the object, then click an axis handle and drag the selected object in the desired direction along the selected axis. For example, to make the text label wider, drag it along the red axis. Alternatively, enter the appropriate numeric values in the Scale fields in the Options panel on the right.

To change all three dimensions at once, click the circle where the handles converge and drag it to the desired scale.

To see how this tool can be used, watch the Scale Tool video.

Multitool


(4)

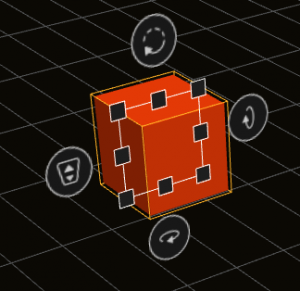
Position, rotate, and scale the selected object at the same time.

Select the object, then do any of the following:

  • To change the size of the object, drag the black square handles on the corners or sides of the square box.
  • To move the object back and forth in the same plane, drag the circle handle to the left of the object.
  • To rotate the object, use any of the other three circle handles .
  • To move the object anywhere on the grid, drag it to the desired position

Alternatively, enter the appropriate numeric values in the Position, Rotation, or Scale fields in the Options panel on the right.

To see how this tool can be used, watch the Multitool video.