Sprite Editor
The Sprite Editor allows you to view all images added to the project and edit the basic attributes of individual images.
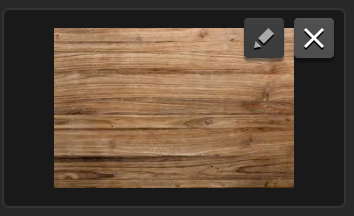
To access this editor, click the Edit icon in the top-right corner of any image field in the Options panel, for example, with asset attributes.
The Sprite Editor appears with all sprites added to the project listed in the panel on the left.
You can use the Search field at the top of the Sprite panel to find the image you want to edit. If there was an image already selected in the options panel, it will be automatically selected.
Editing Sprite Image Attributes
In the Sprite Editor, you can edit the image name and image properties, such as brightness, contrast, hue, and saturation. To edit the sprite file attributes, select the image in the Atlas Editor.
Select the sprite image you want to edit, update its attributes in the Options panel on the right, and click Save.
While previewing the image on in the Editor, drag each slider to achieve the desired effect or enter a numeric value on the right.
| Option | Description |
| Name | Enter a custom name for the image, if needed. |
| Brightness | How much white (or black) is mixed in the color. |
| Contrast | The difference in luminance or color that makes the image distinguishable. |
| Hue | The mixture of the primary colors: red, green and blue. |
| Saturation | Indicates the amount of grey in a color. |
| Save | Click this button to save your changes. |
| Close | Click this button to discard your changes and close the Sprite Editor. |
Deleting Sprite Images
There are several locations from which you can delete an image:
- To delete an image from a field in the Options panel, click the x icon.

- To delete an image from the Sprite Editor list that is no longer in use, you need to optimize the atlas. See Atlas Options.


