Atlas Editor
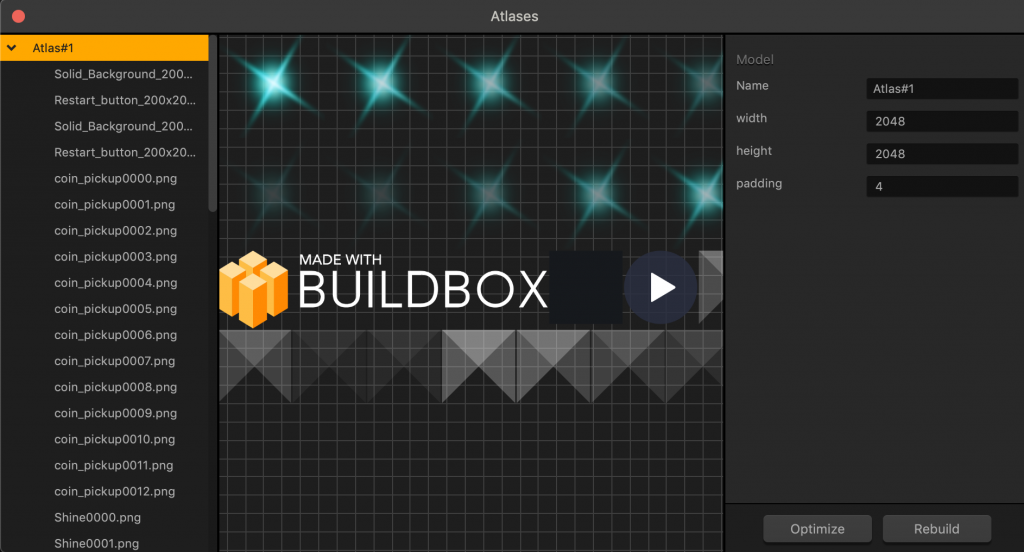
Atlases in Buildbox store all images in your game. To access the Atlas Editor, select Tools > Atlases on the Buildbox menu bar.
This is an advanced Editor that allows you to edit atlases and individual sprite files.
Editing Atlas Attributes
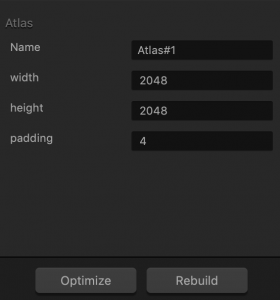
To edit an atlas, select it in the panel on the left and update it as needed in the Options panel on the right.
| Option | Description |
| Name | Enter a custom name for the atlas, if needed. |
| Width | Enter the number of pixels as a base-2 number, such as 256,52, 1024, 2048, and so on, to specify the width of the atlas. |
| Height | Enter the number of pixels as a base-2 number, such as 256,52, 1024, 2048, and so on, to specify the height of the atlas. |
| Padding | Enter a non-zero number of pixels to specify the space between individual sprites. |
| Optimize | Click to remove unused images. |
| Rebuild | Click to reorganize the images in a way that uses the Atlas space most efficiently. |
Editing Sprite File Attributes
To edit an individual sprite from an Atlas, expand the Atlas and select the sprite name in the left pane. Otherwise, click the image in the Editor. The sprite attributes appear in the Options panel.
To edit image properties, such as brightness, contrast, hue, and saturation, you need to open the sprite image in the Sprite Editor and update its attributes in the Options panel.
| Option | Description |
| Name | Enter a custom name for the file, including the file extension. |
| Format | Enter the file format. Currently only PNG is supported for images. |
| Offset | The offset and position for the image on the screen. NOTE: These values are for your information only and should not be edited here. |
| Position |


