
Creating a mobile game might seem challenging, but with Buildbox AI, you can easily make a fun, interactive Choose Your Own Adventure game—no coding needed. This guide will walk you through the exact steps to bring your story idea to life using Buildbox AI. If you prefer watching how it’s done, just click on part 1 of our two-part tutorial series below to follow along.
Watch Part 1: Creating Your Choose Your Own Adventure Game with Buildbox AI
Step 1: Download Buildbox Classic
Start by heading over to the Buildbox website and downloading Buildbox Classic. Once downloaded, follow the installation prompts for either Mac or Windows. Mac users can simply drag the Buildbox icon to the Applications folder, while Windows users will follow a similar, straightforward process.
After installing and opening Buildbox Classic, you’ll be greeted by the home screen, where the magic begins! Buildbox AI will guide you through the entire process.
Step 2: Choose Your Story Idea
Next, it’s time to come up with a story idea for your Choose Your Own Adventure game. Rather than brainstorming from scratch, a tool like ChatGPT can help generate creative ideas. One suggestion was a time-travel adventure, which turned out to be the perfect concept for this game.
The idea is simple: players use a time machine to travel through key moments in history, altering timelines and shaping their own destiny.
Step 3: Let Buildbox AI Do the Work
Once your story is set, it’s time for Buildbox AI to take over. After pasting the time-travel adventure prompt into the AI assistant, it immediately understands your vision and starts building. The AI will ask for details, such as the appearance of the main character and potential enemies or challenges.
For this example, we kept it simple with a brown-haired boy as the main character and obstacles like natural disasters and technological malfunctions to make the game more interesting. You can add as many challenges as you want, but for this tutorial, we kept it to two for simplicity.
Step 4: Final Touches – Music and Visuals
Buildbox AI’s customization features let you fine-tune even the smallest details. After the characters and obstacles are set, the AI will ask about background music. In this case, an adventure-themed soundtrack was chosen to fit the game’s tone.
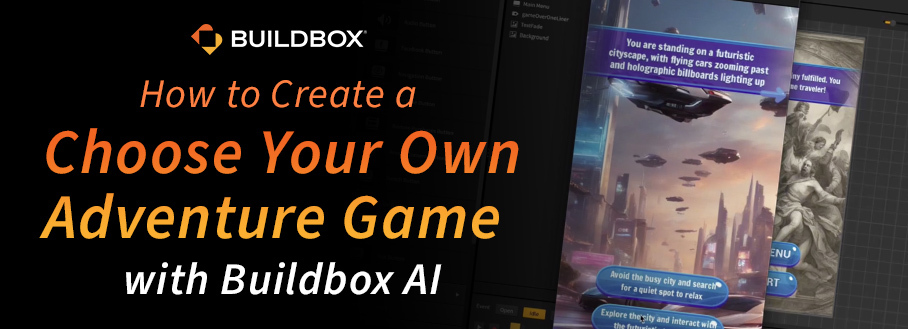
You can watch as the AI generates artwork, menus, and gameplay elements in real-time. Within about 30 seconds, your game is ready, and you can hover over each chapter to preview the text and visuals.
Step 5: Play and Preview Your Game
Once Buildbox AI finishes generating your game, it’s time to preview and play it! The AI will automatically create your game’s main elements, such as victory, game over and main menu screens. Simply click the play button to test your game. In the example game, ChronoQuest, you can explore different eras, make choices, and collect coins as you progress. Your game is fully playable, allowing you to experience the adventure you’ve created!
Now it’s time to dive into Part 2 of the tutorial series, where you’ll learn how to edit your game and export it for mobile. You can click on the tutorial video below to watch and follow along.
Watch Part 2: Editing and Exporting Your Game
Step 6: Access Your Game’s UI Screens
In Part 2, we start by accessing the mind map in Buildbox. This is where all of your game’s UI screens connect. From here, you can easily navigate to screens like the Game Over screen to make edits. Simply zoom in and double-click to open the screen you want to adjust.
Step 7: Customize with the Generate Asset Tool
One of the most powerful tools in Buildbox AI is the Generate Asset function. It allows you to create custom backgrounds, icons, and more. In the tutorial, we generate a clock background that fits the time-travel theme of the game. You can customize the look by entering prompts and tweaking the aspect ratio. Once generated, simply drag the new asset into your game’s UI screen.
Step 8: Add Social Media Buttons
Want to let players follow you on social media? Adding social media buttons is quick and easy. In the tutorial, we show you how to add a URL button that links to a TikTok page. Just drag the button onto the main menu screen and add the URL to your profile or website. Now players can stay connected with your latest games and updates!
Step 9: Export to Buildbox World
When your game is ready for testing, you can export it to Buildbox World. This feature allows you to play the game on your phone or share it globally. In the tutorial, we export the game ChronoQuest and demonstrate how to test it on a mobile device. If you want to share your game with the world, simply enable global sharing, and Buildbox will review and upload it to the Buildbox World app.
With Buildbox AI, creating your own mobile game is easier than ever. Whether you’re an experienced developer or just getting started, Buildbox’s AI assistant does the heavy lifting, letting you focus on creativity.
Ready to create your own Choose Your Own Adventure game? Sign up for a free 5-day trial of Buildbox today and start building amazing games without any coding required!
Download Buildbox


